The concrete needed not only to be laid inside the building in the two rooms, but there are severe drainage issues right outside the building, so there is now also a concrete 'apron' that runs around the whole back of the building and up the side a little bit. This makes sure all the rain goes away from the building. I don't have pics of the outside right now, I'll add some later. Also, all of the walls that border the outside world, I sprayed using a paint sprayer with a heavy duty sealing primer called 'Kilz'... seals in moisture, etc. Also, I caulked any cracks or holes both on the inside and outside.
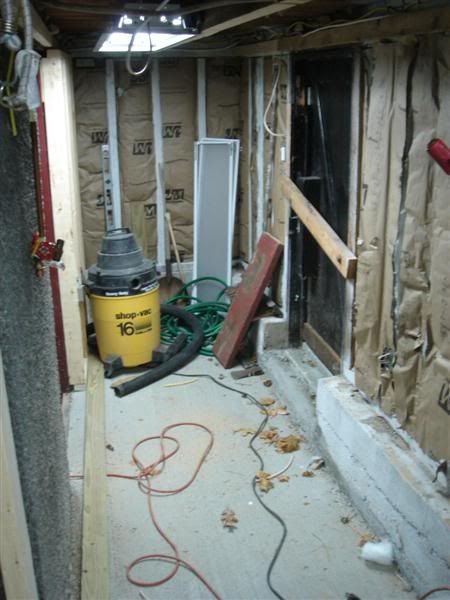
Here's some shots with the floor in, walls sealed,(I've also insulated the walls in the small room that I won't be building another wall inside of) ready to start getting some real work done:
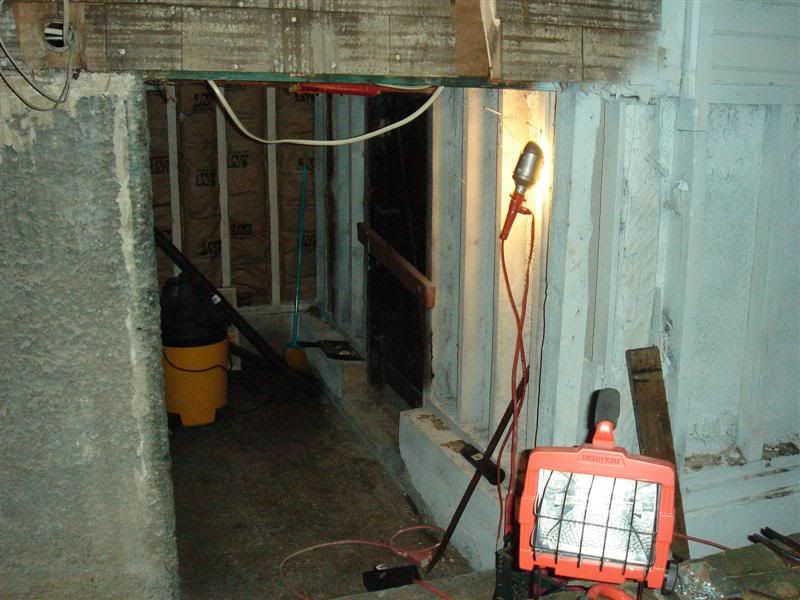
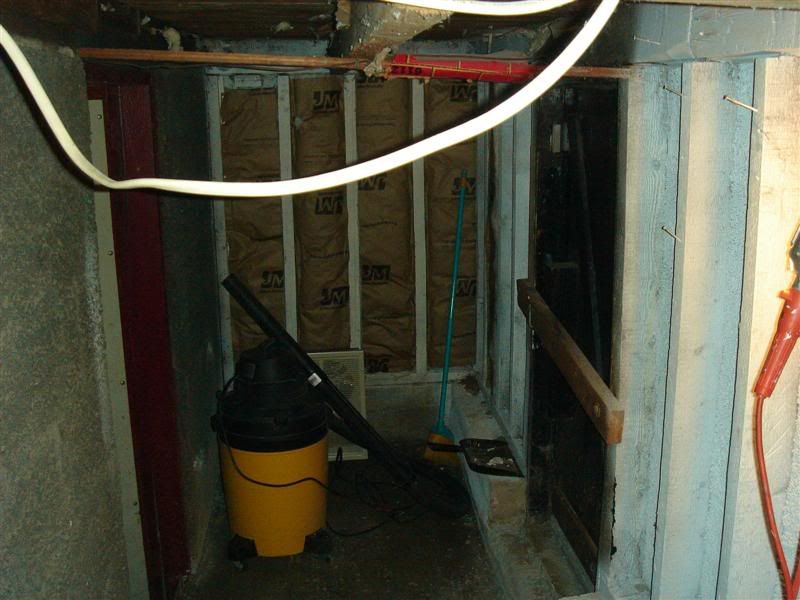

I framed walls on most of the remaining walls. There are a couple where I will use the existing frame. To attach the bottom 2x4 to the floors, I used one of those powder-actuated nailers that use little bullets and you hit them with a hammer. I've used them before, they work great, made by Remington. After that it's just standard pain in the ass wall framing.
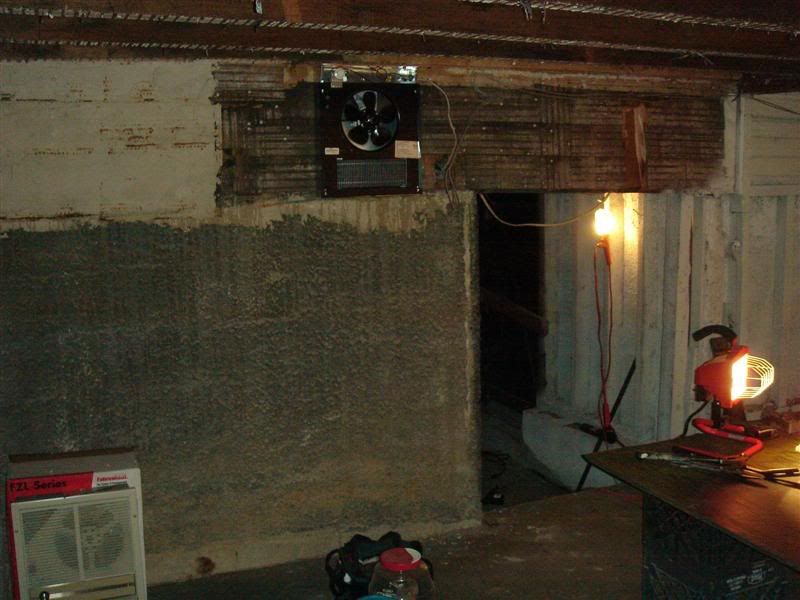
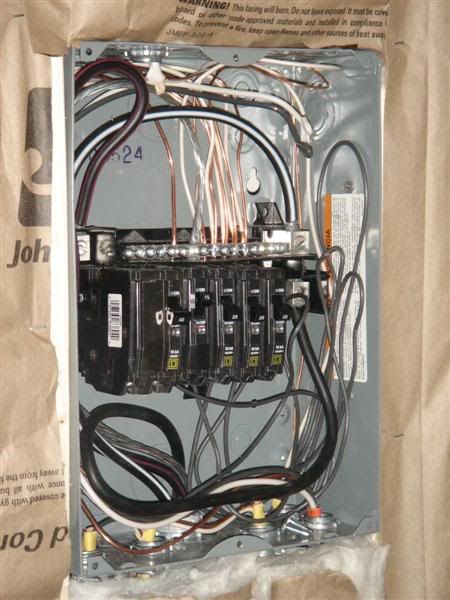
Then, I ran all of my wires. Due to anticipated high amperage, I used 4 gauge wire (for this particular wire I used aluminum because copper is so damn expensive right now) and ran a line from the takeoff lugs on the building's main panel back to my garage, and mounted a subpanel. I also used an existing wire to connect a fan-forced heater and mounted it in the framing... nice and toasty in there now. I ran all the wires for three big fluorescent light fixtures with a 3 way switch in two places, 4 small spotlights (for above where I plan to build a workbench and where I plan to have my big roller tool chests) controlled by a switch near where the workbench will be, 9 normal outlets, and 1 line for a 220V wire for when I get a compressor, hopefully not too far in the future. This is all managed by a 15 amp breaker for all the lights, three 20 amp breakers for all the outlets, and a 40 amp breaker for the 220V line.
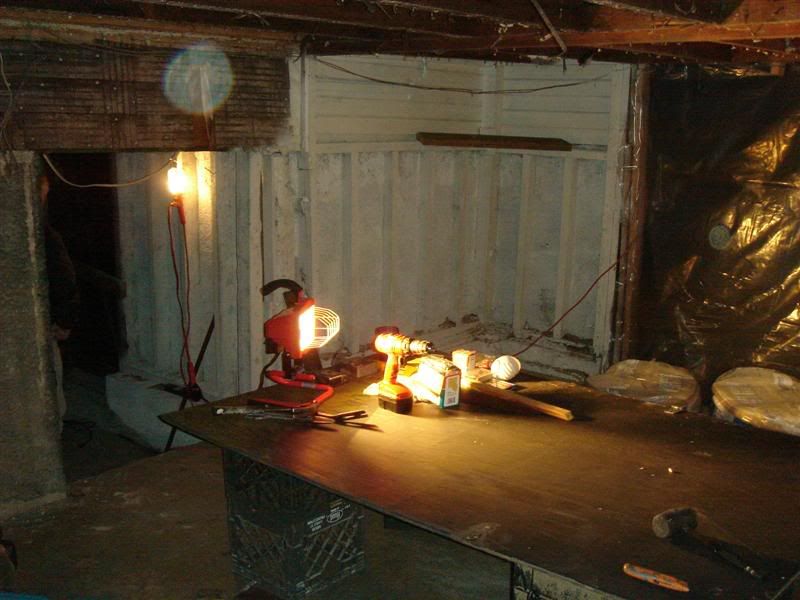
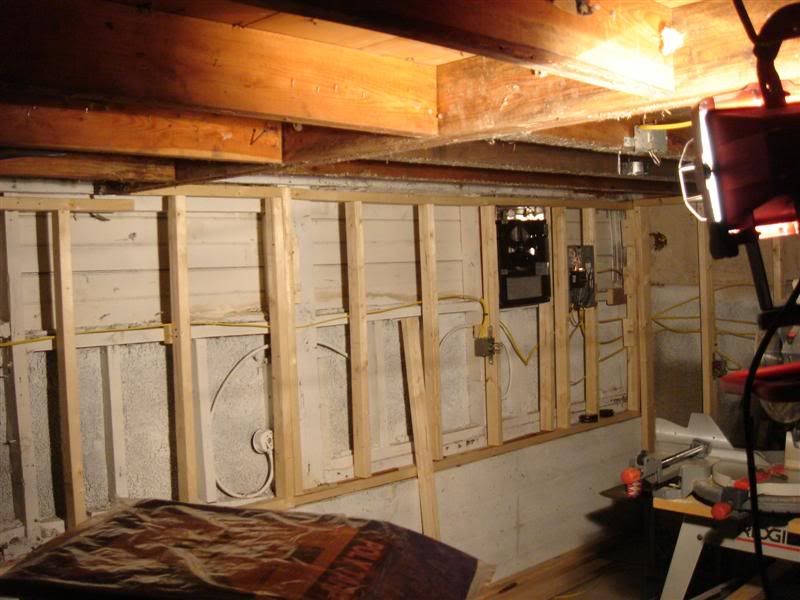
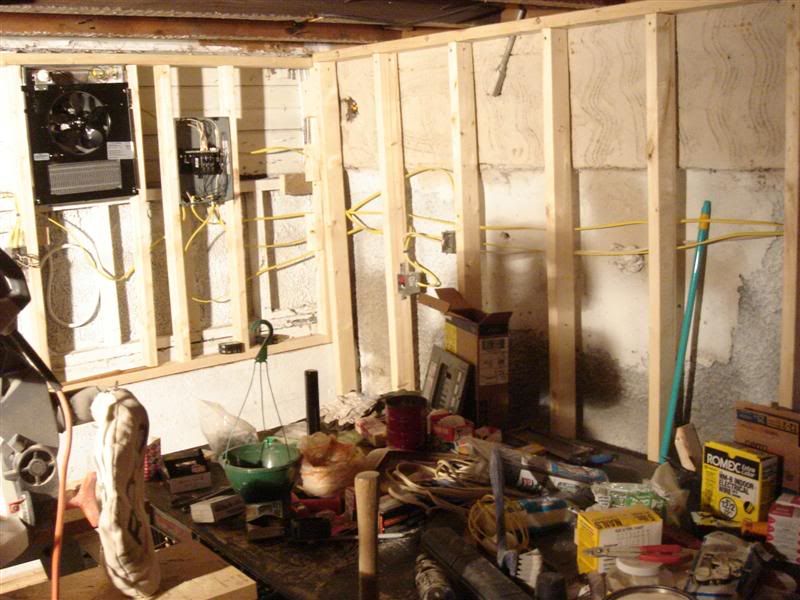
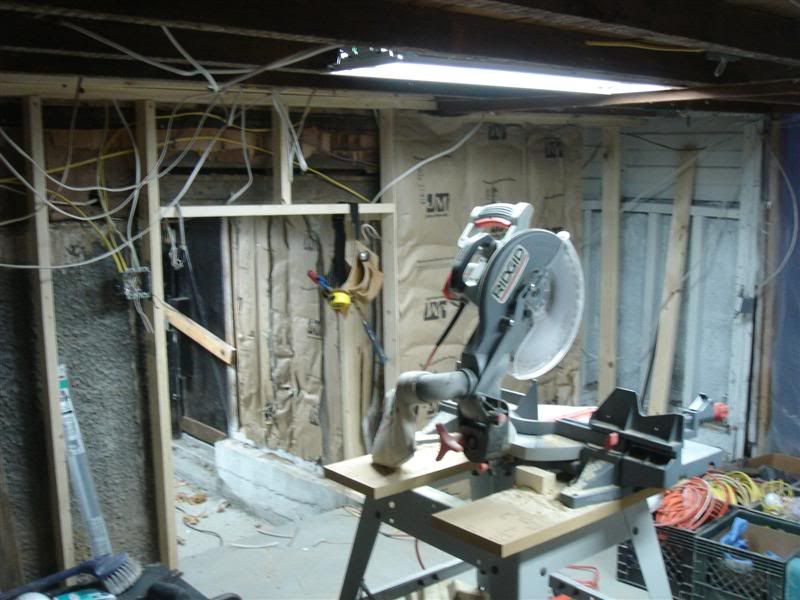
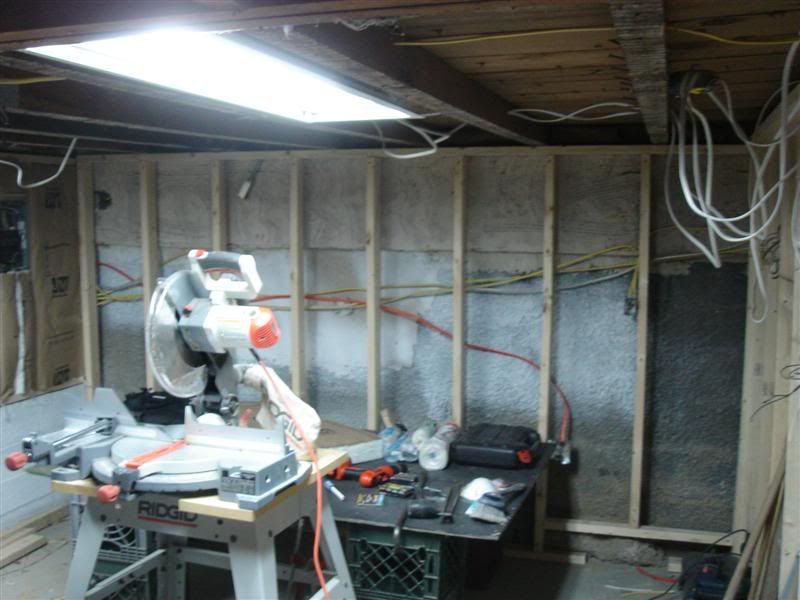
Here is some pictures with most of the walls done being framed and most of the wiring done.
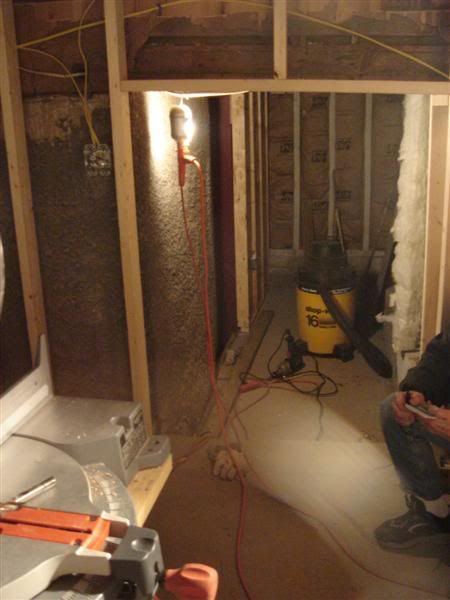
Today I got some bulbs and turned on the breaker for the fluorescent lights so I can stop working with those damn spot/work lights. I finished a couple other little wiring things and insulated the two walls that are up that border the outside. Here's some pics with the lights on.
I plan to run a couple speaker wire outlets and the accompanying wires on the back wall because I plan to bring in my stereo and speakers on shelves there. After a couple more little wiring and insulation things, it will be time to start the drywall for all the walls and the ceiling. Really starting to come together.