
|
 |
 |
 |
 |
 |
 |
 |
 |
 03-05-2008, 12:37 AM
|
#1 |
|
Pompous Prick

Join Date: Mar 2008
Location: MA
Moto: 06 R6 (race), 04 CRF Tard (race)
Posts: 3,040
|
Not sure if this is the right forum for this, but I figured I would bring it on over.

__________________
LRRS/CCS #123 Boston Moto Dunlop Woodcraft 35 Motorsports Sidi Pit Bull K&N Filters |

|

|
|
03-05-2008, 12:38 AM
|
#2 |
|
Pompous Prick
Join Date: Mar 2008
Location: MA
Moto: 06 R6 (race), 04 CRF Tard (race)
Posts: 3,040
|
So I thought I would share what I've been spending around 1 day a week average working on since the summer: Building my own garage/workshop. I'll be adding to this thread as I make more progress.
My folks' office building has some parts of the basement that are separate due to the building having had a couple additions over its lifetime. One portion is about 15x18, and consists of a dirt floor, and very old plaster covering the walls and ceiling (the type of plaster with a mesh screen nailed up and the plaster attached to the screen). It's been full of a bunch of useless crap we have to shove in there about 7-8 years ago in a hurry (long story) and haven't done anything with since. Also, through a small wall there is another small portion separated from the main basement that is about 5x15 which also has a dirt floor and had crap in it as well. Upon starting the project I decided it would be well worth it to break down the wall and connect the two sections into one workshop... the smaller room will end up with lots of shelving mounted to the walls. Due to the age of it all, I decided to frame new walls inside the room in most places, in order to be able to insulate easily, hang drywall, and mount light fixtures, outlets, etc. There are some walls in the smaller room up which I will just mount insulation and sheetrock directly, though. Just getting all the stuff out and making all the dump runs, as well as ripping out all of the old plaster and insulation took me the first few months (only one day a week, roughly). So, here is what I started with: Main room full of crap: 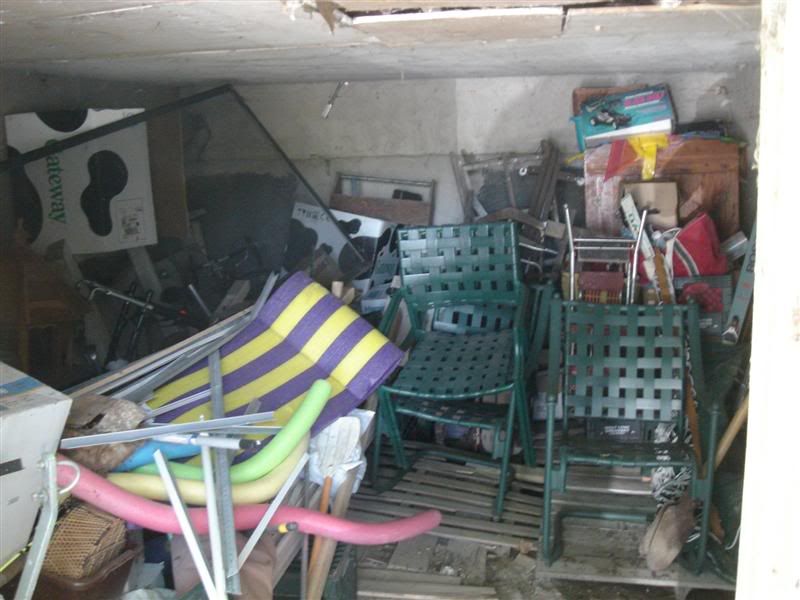 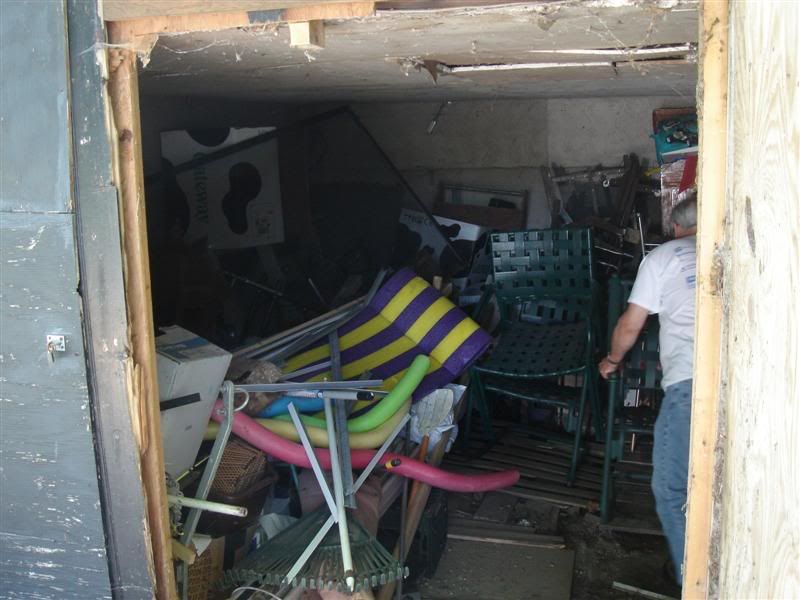 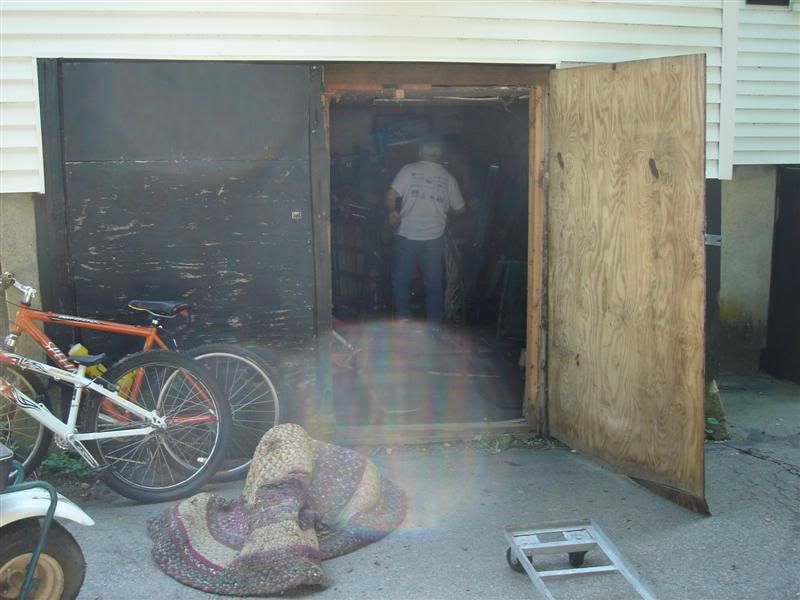 Here is part of the smaller room: 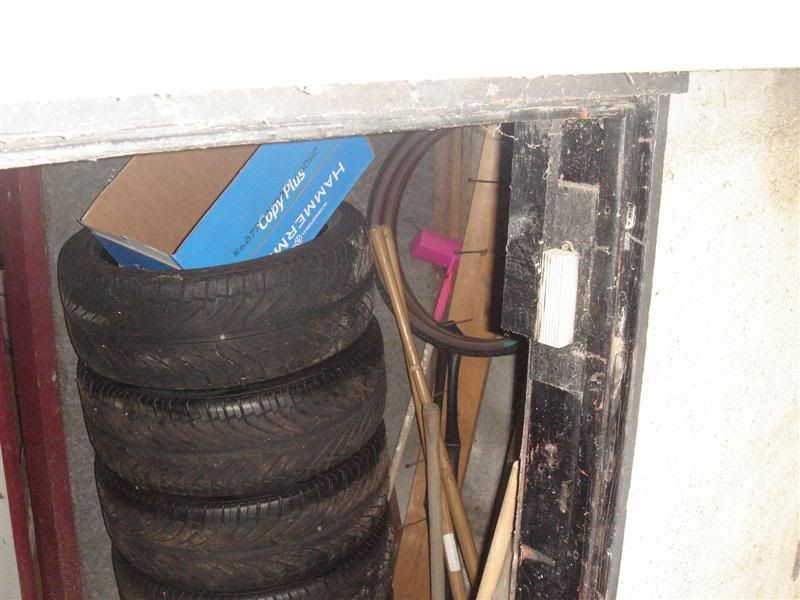 After I knocked down the wall between the two and cleared out the main room, here is a view looking from the main room into the smaller room: 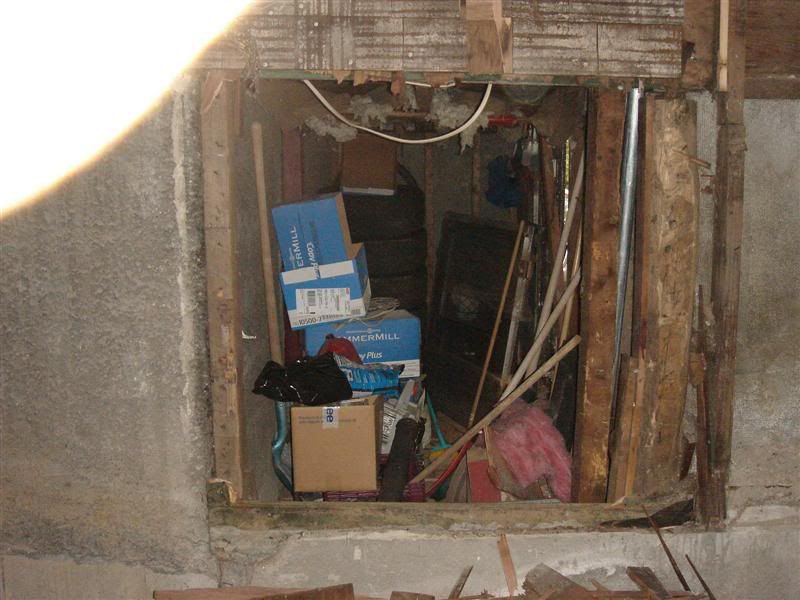 So, essentially, here is a schematic of the space I will be working with: 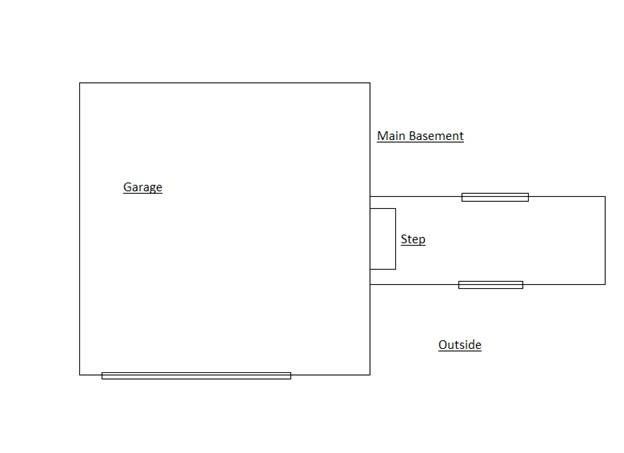 Here is the whole place stripped out,dirt floor, ready for concrete: 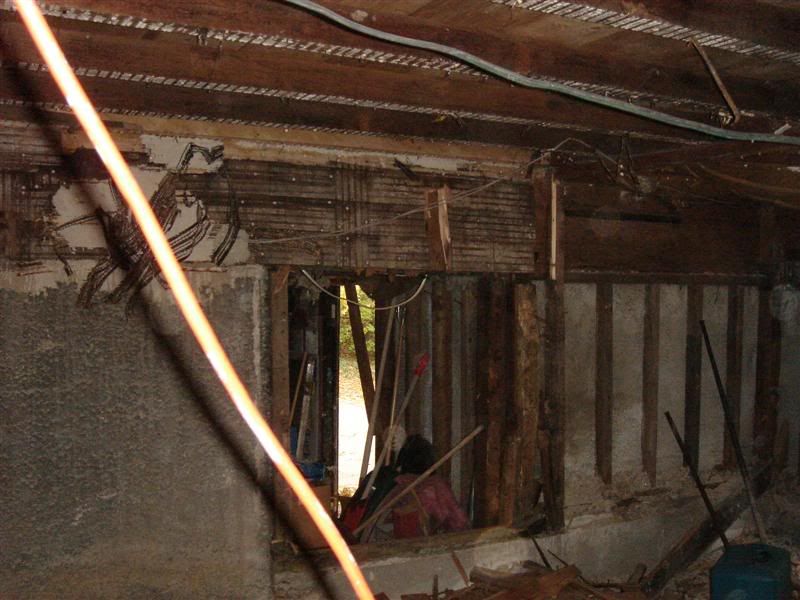 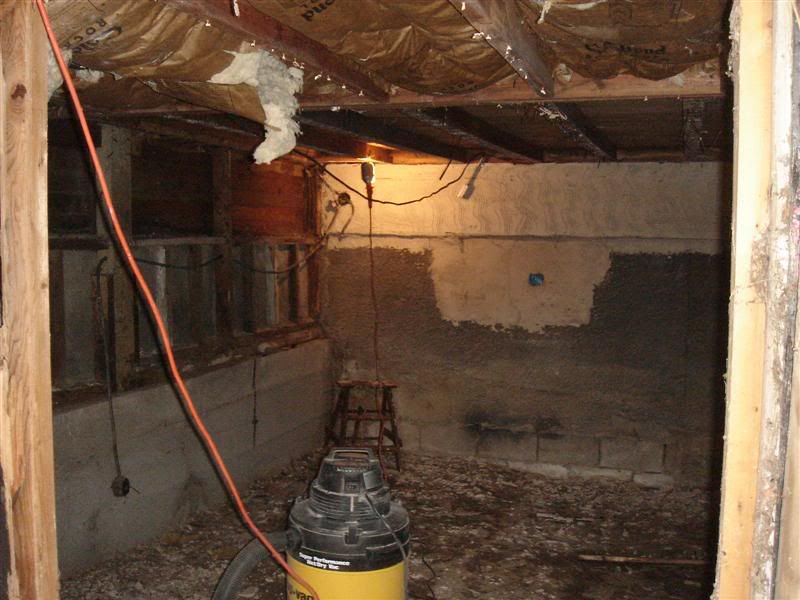 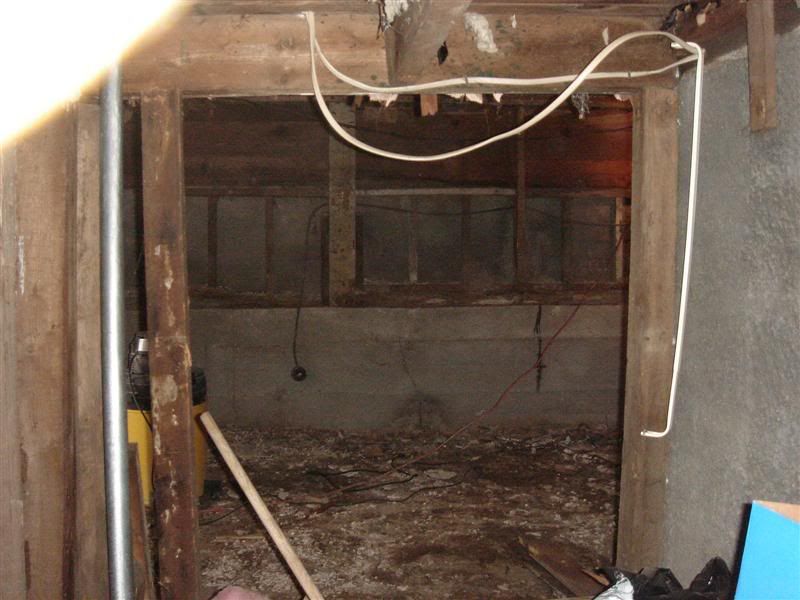 In this one you can see the main garage door as well as the smaller door in the small room. 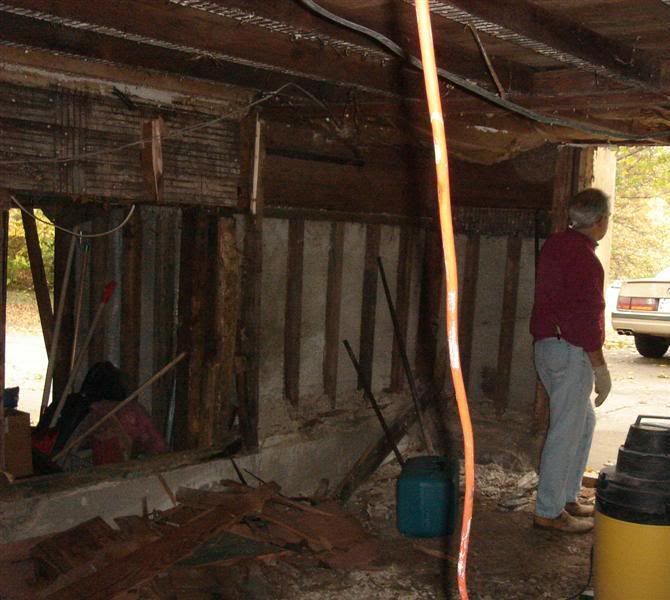
__________________
LRRS/CCS #123 Boston Moto Dunlop Woodcraft 35 Motorsports Sidi Pit Bull K&N Filters |
|
|
|
|
03-05-2008, 12:38 AM
|
#3 |
|
Pompous Prick
Join Date: Mar 2008
Location: MA
Moto: 06 R6 (race), 04 CRF Tard (race)
Posts: 3,040
|
The concrete needed not only to be laid inside the building in the two rooms, but there are severe drainage issues right outside the building, so there is now also a concrete 'apron' that runs around the whole back of the building and up the side a little bit. This makes sure all the rain goes away from the building. I don't have pics of the outside right now, I'll add some later. Also, all of the walls that border the outside world, I sprayed using a paint sprayer with a heavy duty sealing primer called 'Kilz'... seals in moisture, etc. Also, I caulked any cracks or holes both on the inside and outside.
Here's some shots with the floor in, walls sealed,(I've also insulated the walls in the small room that I won't be building another wall inside of) ready to start getting some real work done: 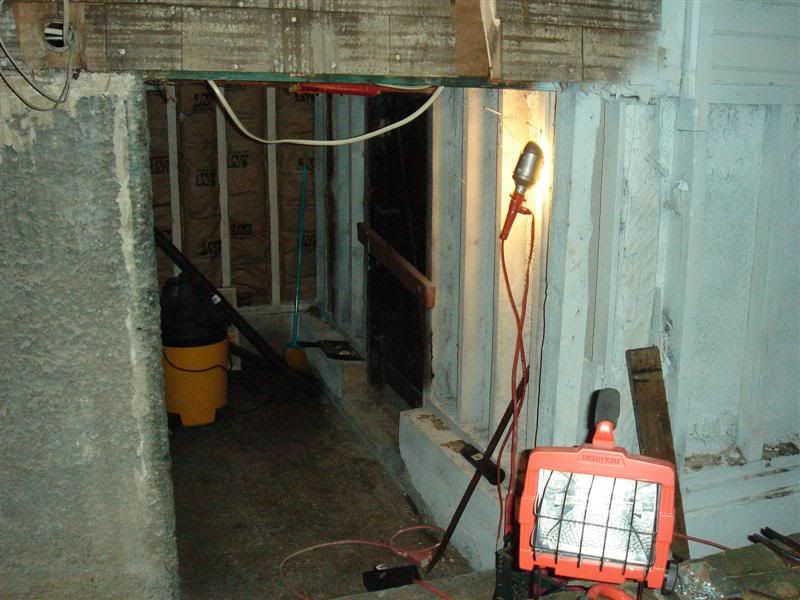 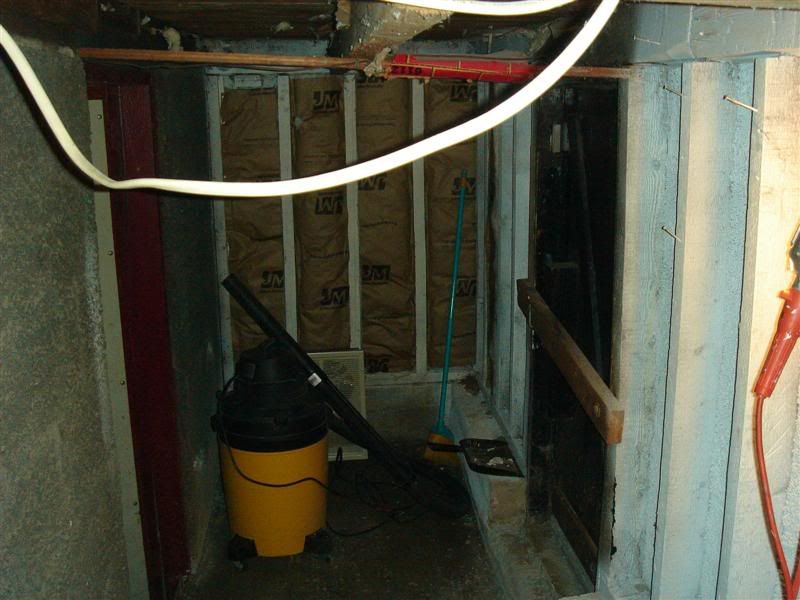 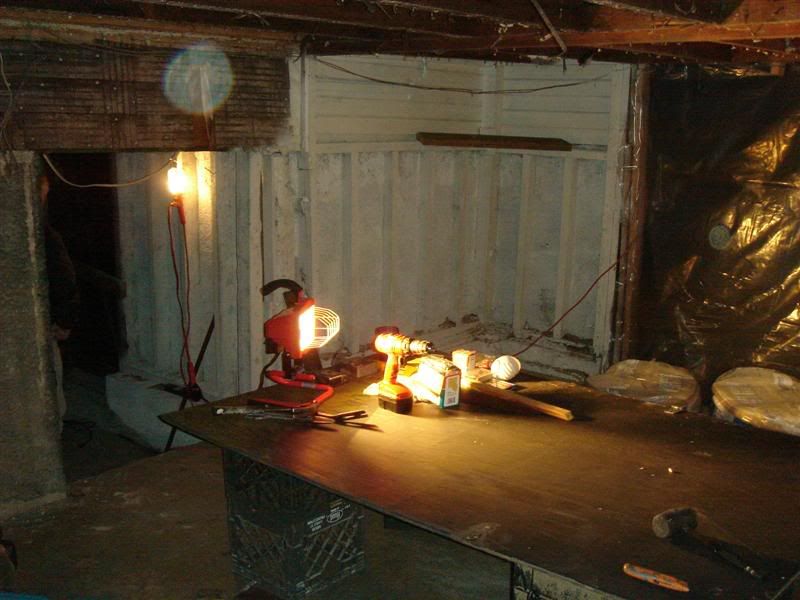  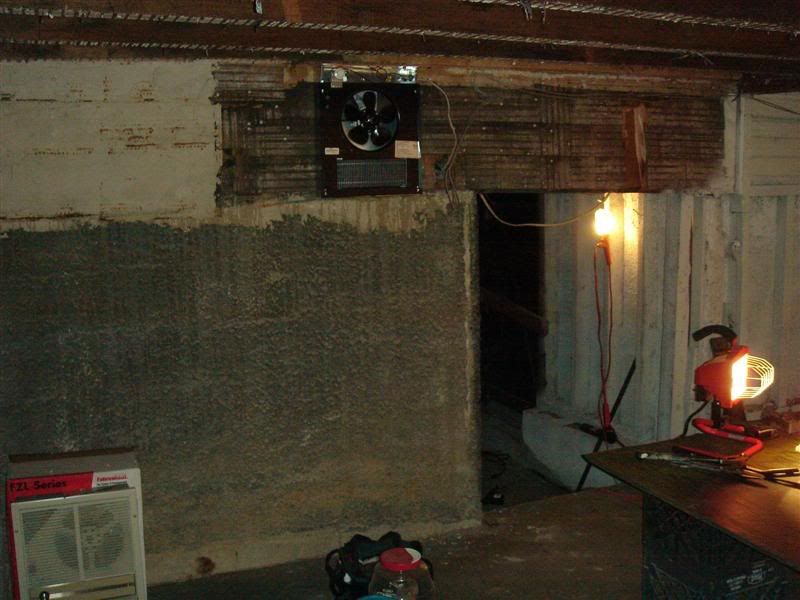 I framed walls on most of the remaining walls. There are a couple where I will use the existing frame. To attach the bottom 2x4 to the floors, I used one of those powder-actuated nailers that use little bullets and you hit them with a hammer. I've used them before, they work great, made by Remington. After that it's just standard pain in the ass wall framing. Then, I ran all of my wires. Due to anticipated high amperage, I used 4 gauge wire (for this particular wire I used aluminum because copper is so damn expensive right now) and ran a line from the takeoff lugs on the building's main panel back to my garage, and mounted a subpanel. I also used an existing wire to connect a fan-forced heater and mounted it in the framing... nice and toasty in there now. I ran all the wires for three big fluorescent light fixtures with a 3 way switch in two places, 4 small spotlights (for above where I plan to build a workbench and where I plan to have my big roller tool chests) controlled by a switch near where the workbench will be, 9 normal outlets, and 1 line for a 220V wire for when I get a compressor, hopefully not too far in the future. This is all managed by a 15 amp breaker for all the lights, three 20 amp breakers for all the outlets, and a 40 amp breaker for the 220V line. Here is some pictures with most of the walls done being framed and most of the wiring done. 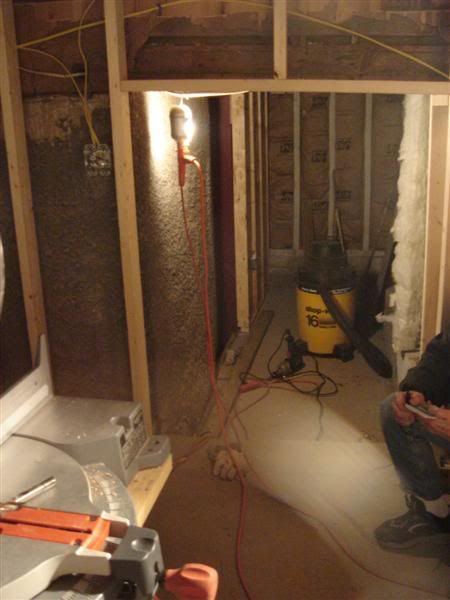 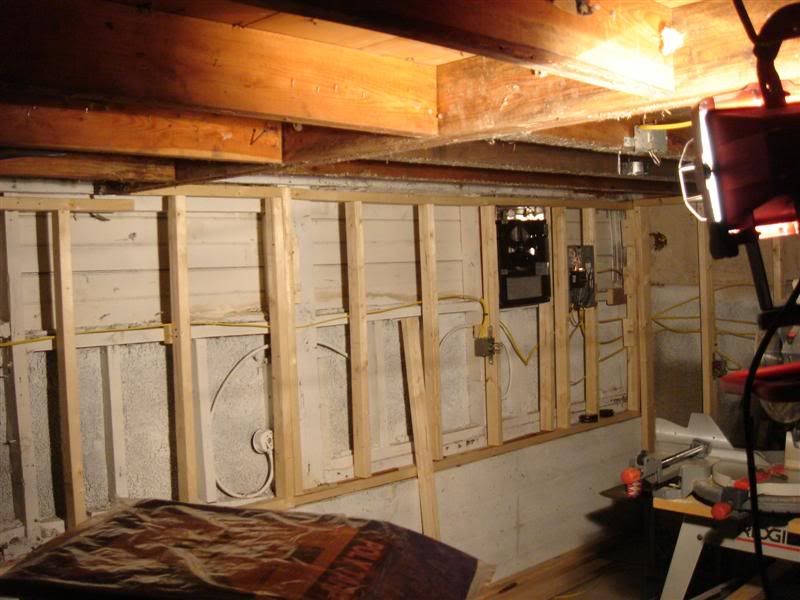 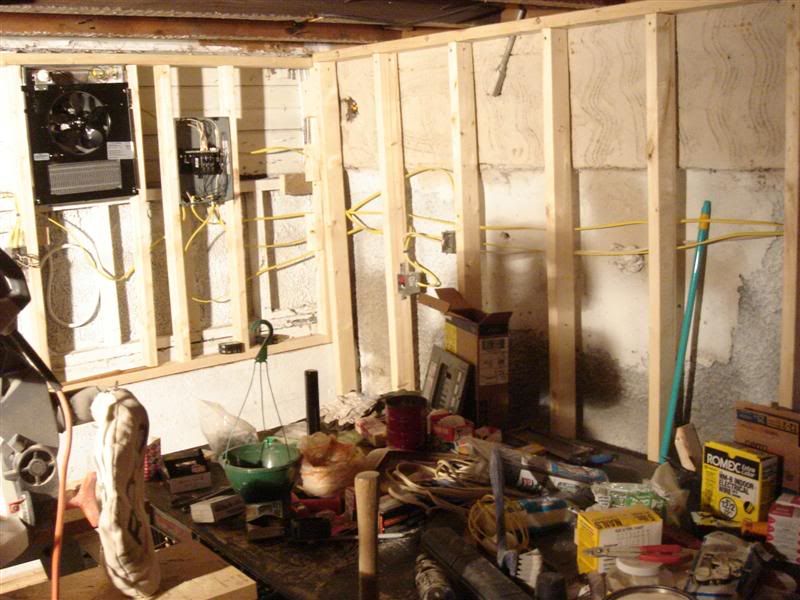 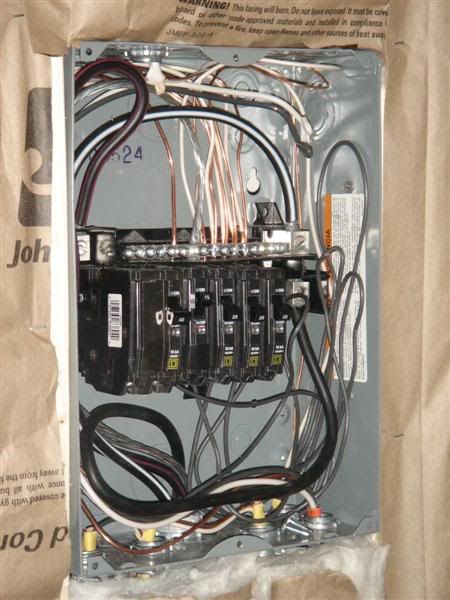 Today I got some bulbs and turned on the breaker for the fluorescent lights so I can stop working with those damn spot/work lights. I finished a couple other little wiring things and insulated the two walls that are up that border the outside. Here's some pics with the lights on. 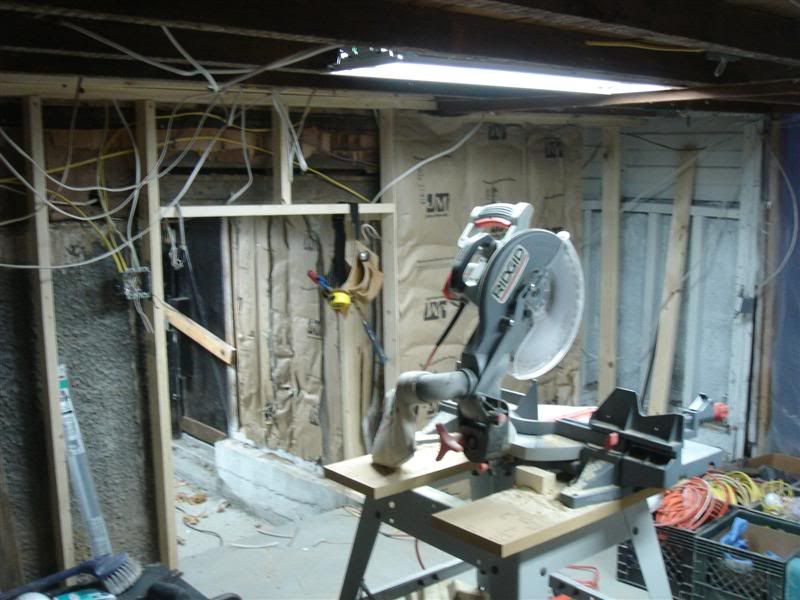 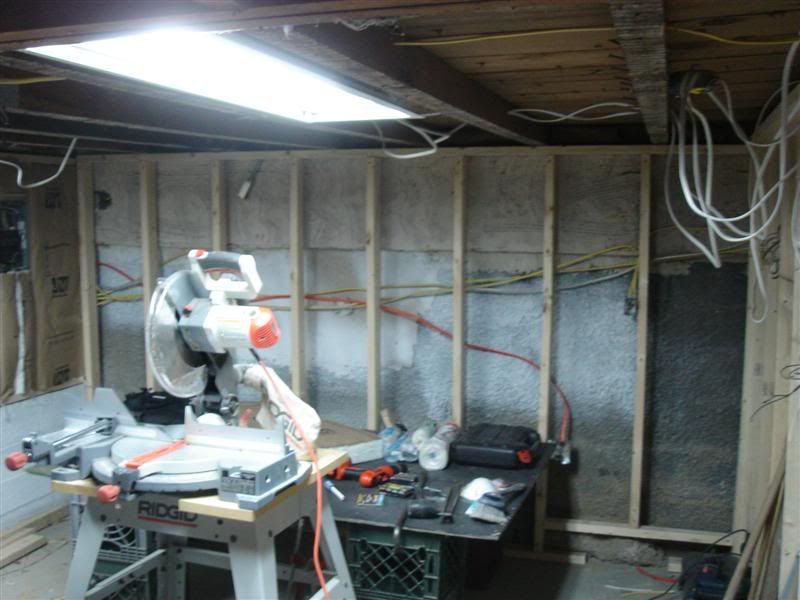 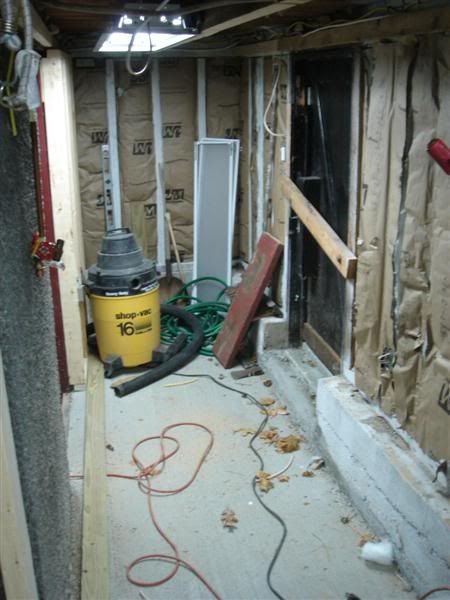 I plan to run a couple speaker wire outlets and the accompanying wires on the back wall because I plan to bring in my stereo and speakers on shelves there. After a couple more little wiring and insulation things, it will be time to start the drywall for all the walls and the ceiling. Really starting to come together.
__________________
LRRS/CCS #123 Boston Moto Dunlop Woodcraft 35 Motorsports Sidi Pit Bull K&N Filters |
|
|
|
|
03-05-2008, 12:38 AM
|
#4 |
|
Pompous Prick
Join Date: Mar 2008
Location: MA
Moto: 06 R6 (race), 04 CRF Tard (race)
Posts: 3,040
|
A little update.
The bike is in there now on a tender, because of the snow. Fits in nicely, I will have PLENTY of space to work on it. Only problem is I noticed there was some oil on the ground underneath the bike, and it didn't look like it was coming from the breather tubes. I didn't have time to look into it, so now it's bugging me quite a bit, I'm worried. 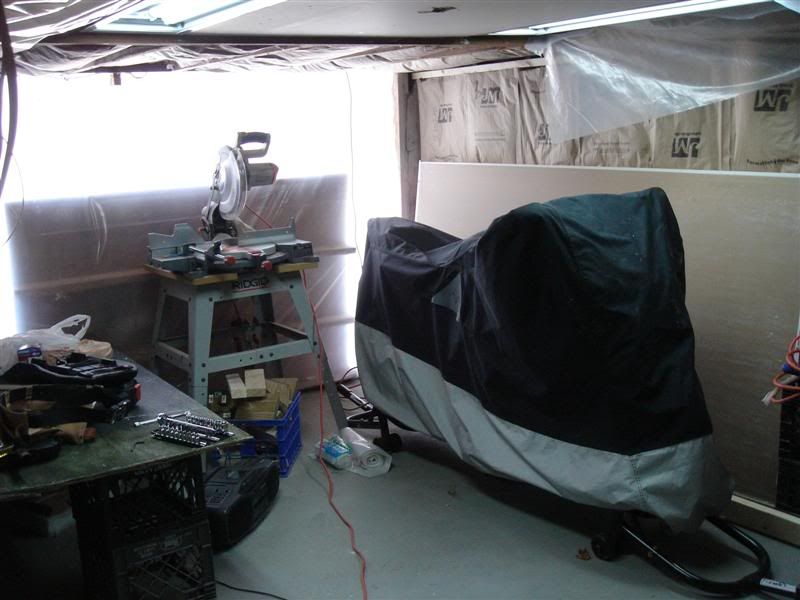 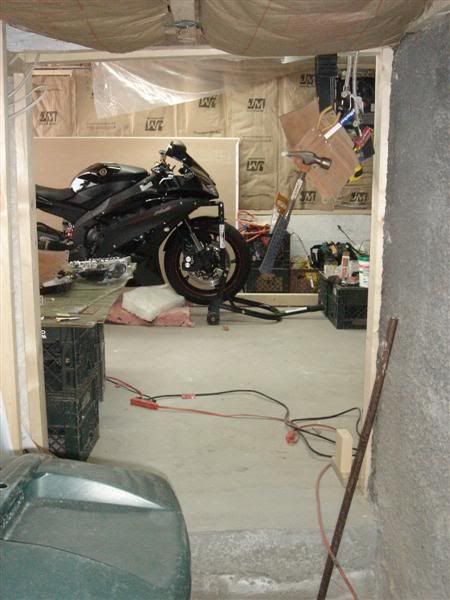 All of the insulation is done. I've JUST started drywalling. Lots of work left to do there. 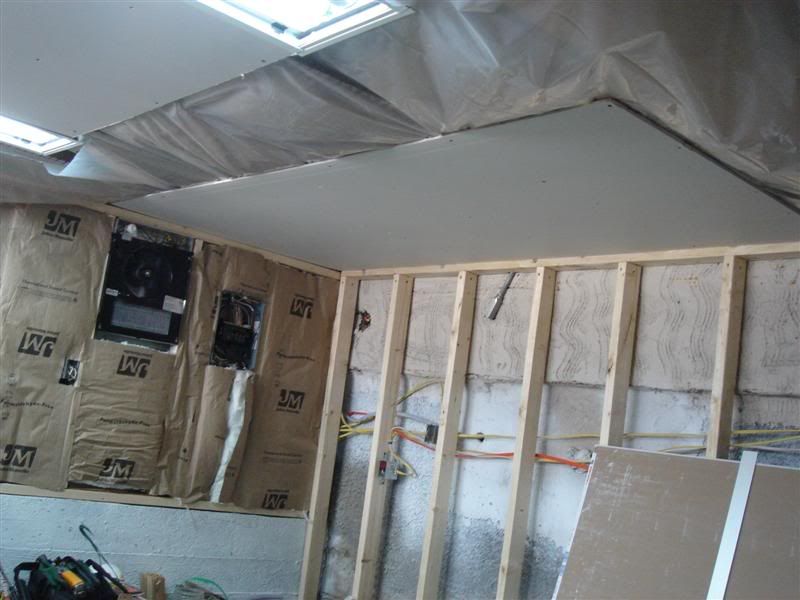 Because the little spot lights I am putting above my workbench and tool chest are a little too long to fit in the rafters, I had to box them in. I built little boxes and hung two of them, I still have to hang the other two. 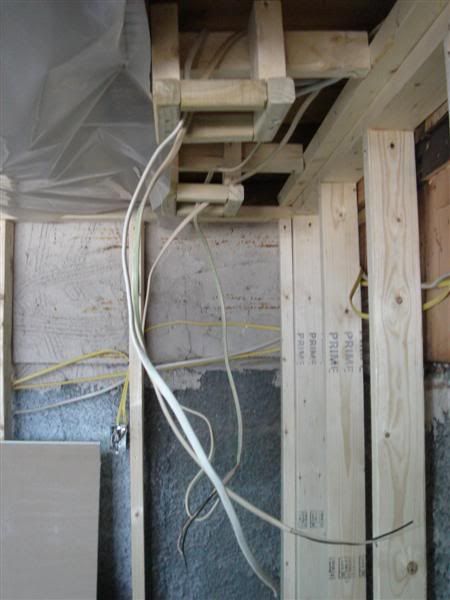 Here's a random shot of the little side room. 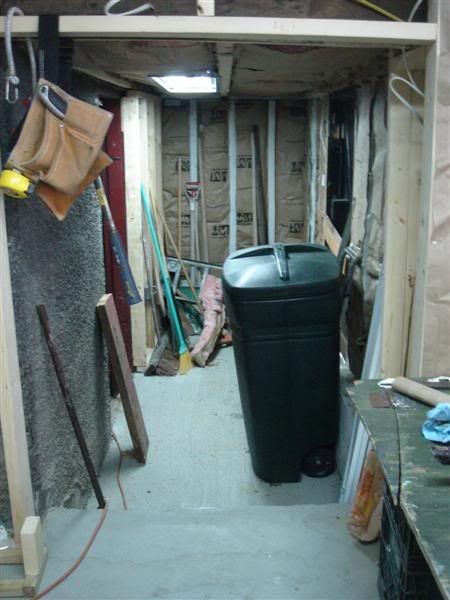 Left to do: - Hang boxes and run wires for speakers (have parts already) - Hang other two small light boxes - Modify the subpanel (add a 60amp main breaker and ground bus bar... have the parts) - Build and hang doors - Finish putting up plastic sheeting - Drywall hanging, mudding, sanding - Paint - Install all outlets, switches, and faceplates (after paint, obviously) - Put down epoxy floor coating (medium gray with black, red, and white paint chips) - Crack a beer and admire the work
__________________
LRRS/CCS #123 Boston Moto Dunlop Woodcraft 35 Motorsports Sidi Pit Bull K&N Filters |
|
|
|
|
03-05-2008, 12:39 AM
|
#5 |
|
Pompous Prick
Join Date: Mar 2008
Location: MA
Moto: 06 R6 (race), 04 CRF Tard (race)
Posts: 3,040
|
Did a couple little things the other day.
I mounted up boxes and ran wires for all of the speaker outlets. Also, I modified the subpanel a bit to follow convention... the neutral and ground wires needed to be on separate bus bars, and the hot lines coming in needed to run through a main breaker before going to the individual breakers. Gettin shit done, son. 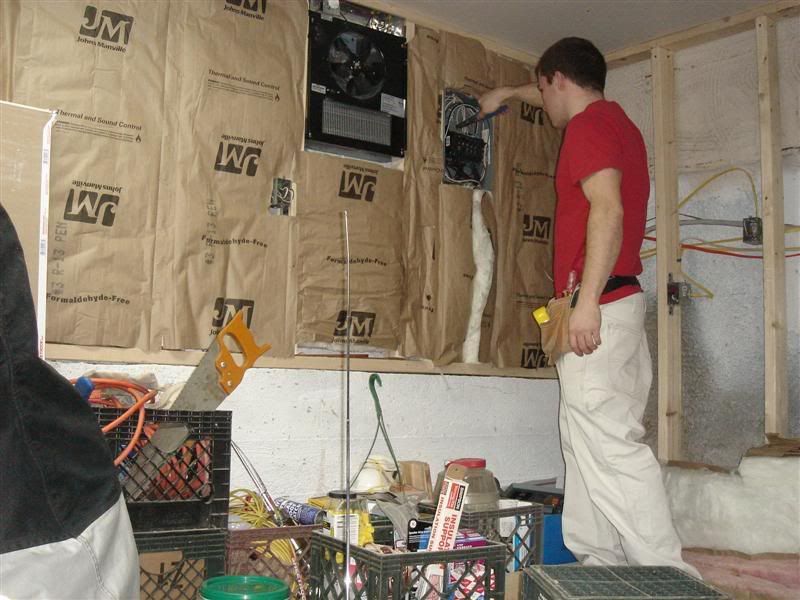 Updated... new ground bus bar, new main breaker. 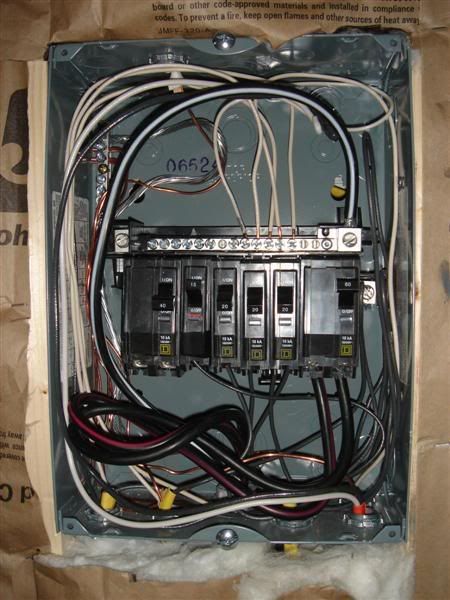 After xmas I'm planning to make a ton of progress, mainly on the drywall and the construction of the doors.
__________________
LRRS/CCS #123 Boston Moto Dunlop Woodcraft 35 Motorsports Sidi Pit Bull K&N Filters |
|
|
|
|
03-05-2008, 12:39 AM
|
#6 |
|
Pompous Prick
Join Date: Mar 2008
Location: MA
Moto: 06 R6 (race), 04 CRF Tard (race)
Posts: 3,040
|
So in the past few days I've made some pretty decent drywall progress. The ceiling in both rooms is completely done, including boxing in the little spotlights. I started the walls, I've done the whole back wall in the main room, and half of the wall that interfaces the two rooms. Did a couple wiring things, added a dedicated outlet under the workbench for the minifridge,other odds and ends. There are a couple portions of wall that cannot be drywalled until later, because I have to design and build the garage doors, and design and build a door to replace the small door in the small room that goes to the outside.
Here's some shots of the progress: Back wall, ceiling (notice that my 'work table' looks like I had a huge coke party  ... gotta love drywall): ... gotta love drywall):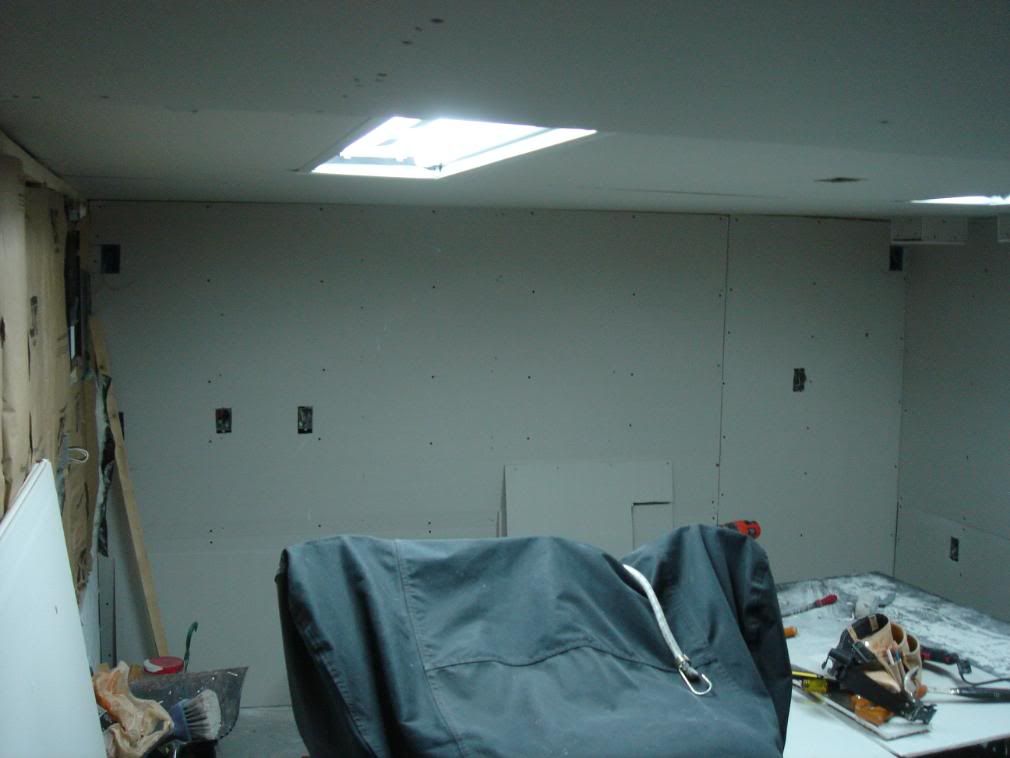 Side wall, ceiling with boxed in spotlights: 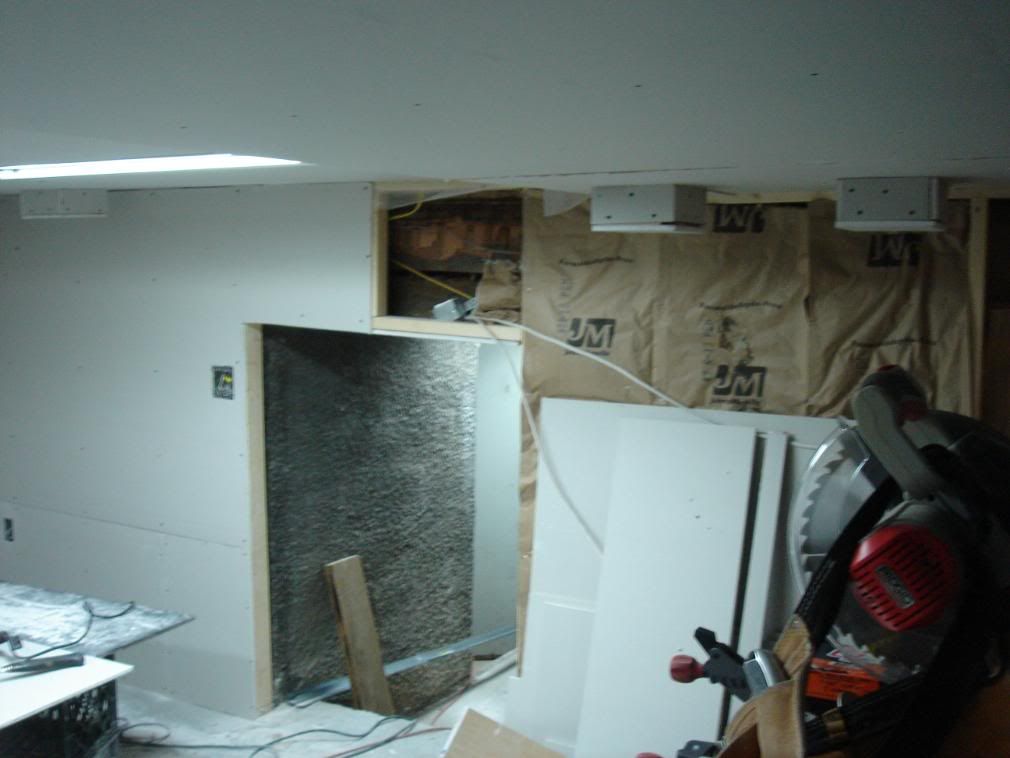 Ceiling: 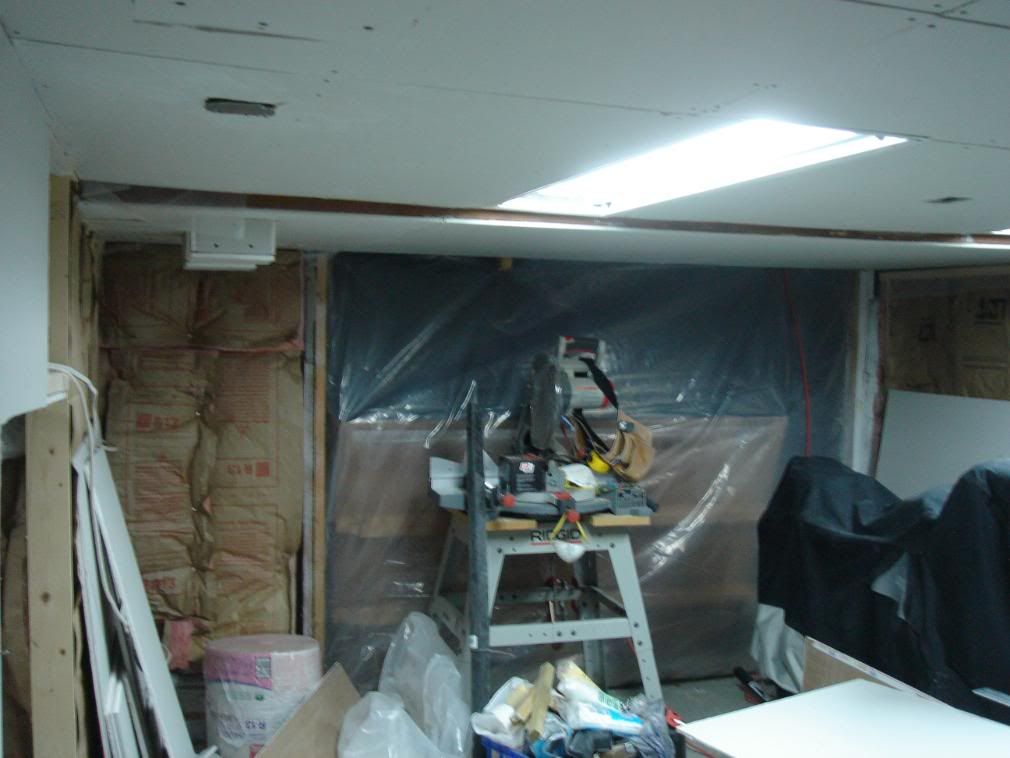 Side wall, ceiling with boxed in spotlights: 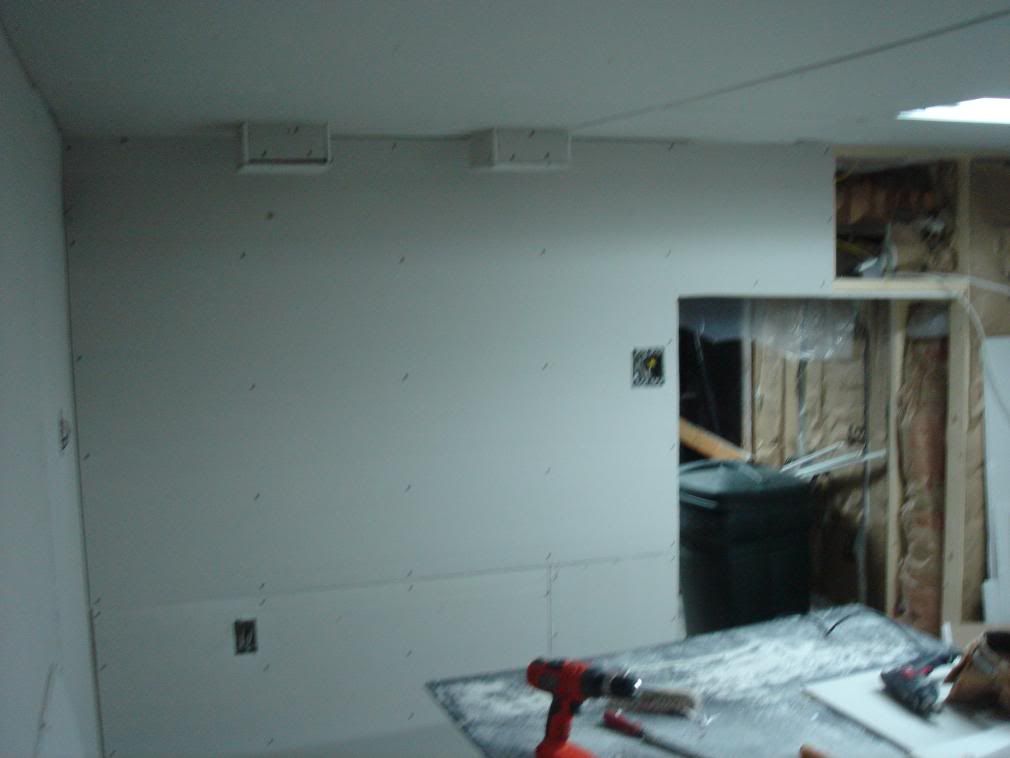 Looking from the main room into the small room: 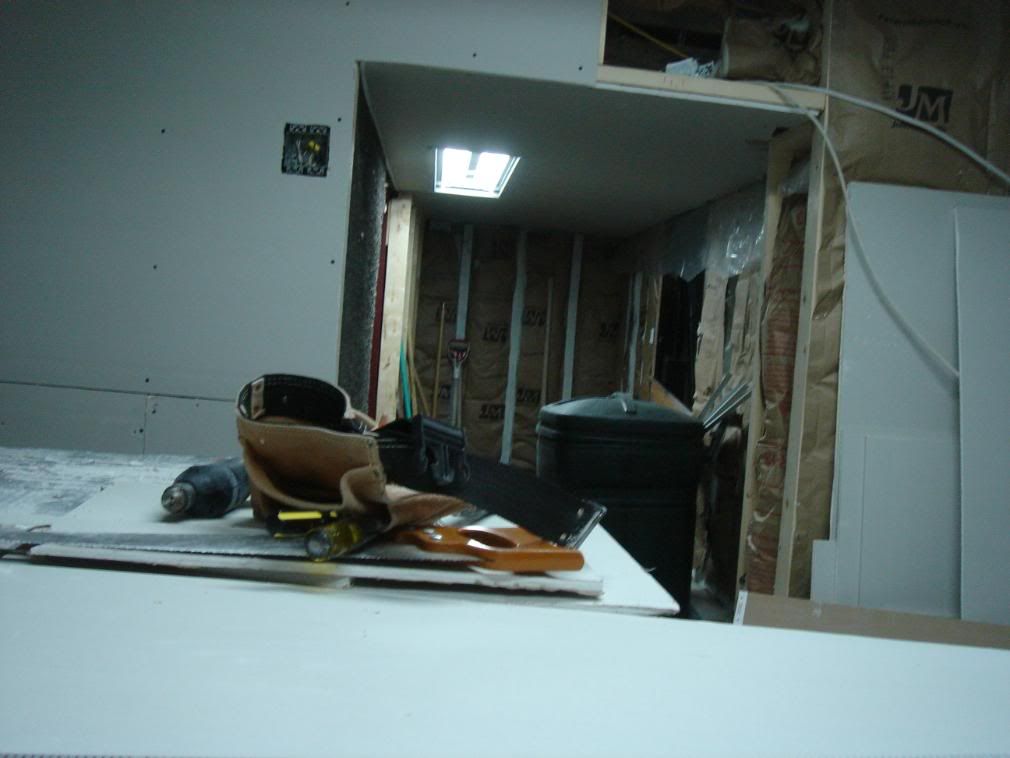 Looking from the small room into the main room: 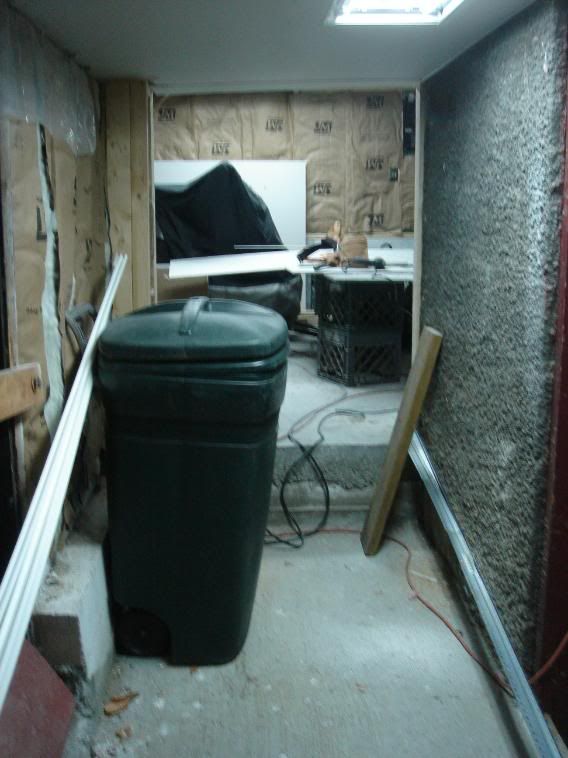 Comin' along decently now that I've been able to put in a couple consecutive full days 
__________________
LRRS/CCS #123 Boston Moto Dunlop Woodcraft 35 Motorsports Sidi Pit Bull K&N Filters |
|
|
|
|
03-05-2008, 12:39 AM
|
#7 |
|
Pompous Prick
Join Date: Mar 2008
Location: MA
Moto: 06 R6 (race), 04 CRF Tard (race)
Posts: 3,040
|
Did a couple more things today....
Finished almost all of the drywall that can be done before the main doors and the small side door are all sorted out. There is a small portion in the smaller room that can still be done, probably about an hour of work. It's all a mental thing, but once you get those sheet up on the ceiling and wall, you really feel like you've actually done something. 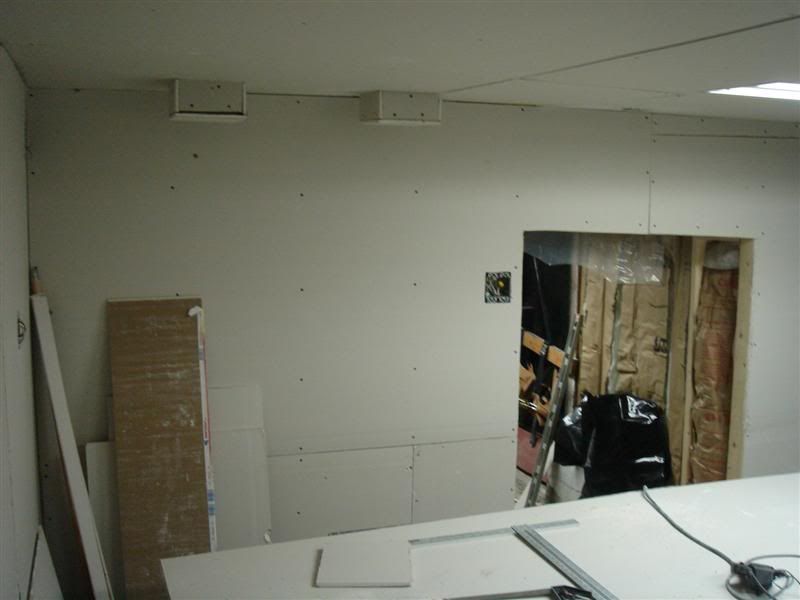 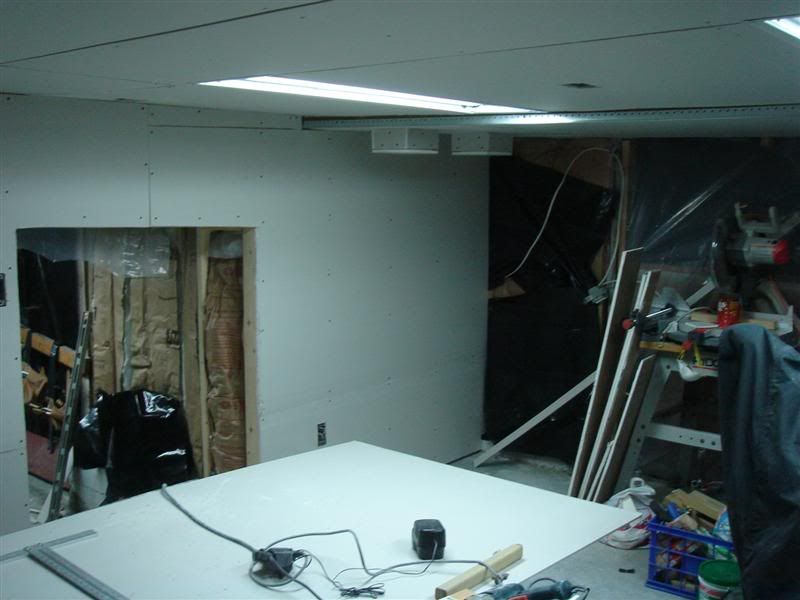 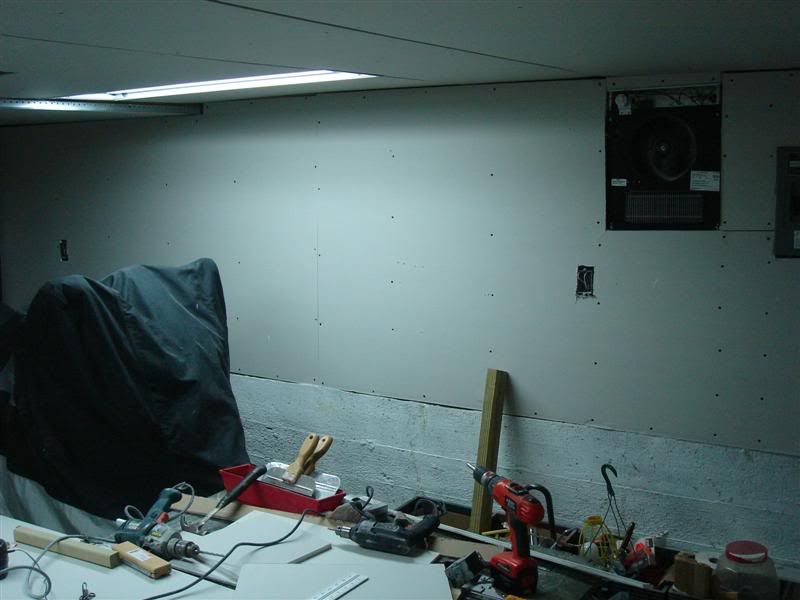 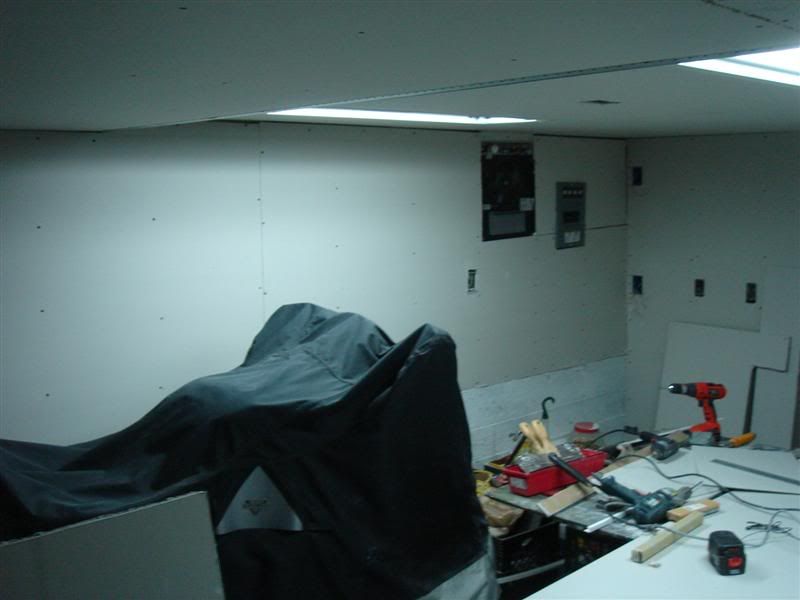 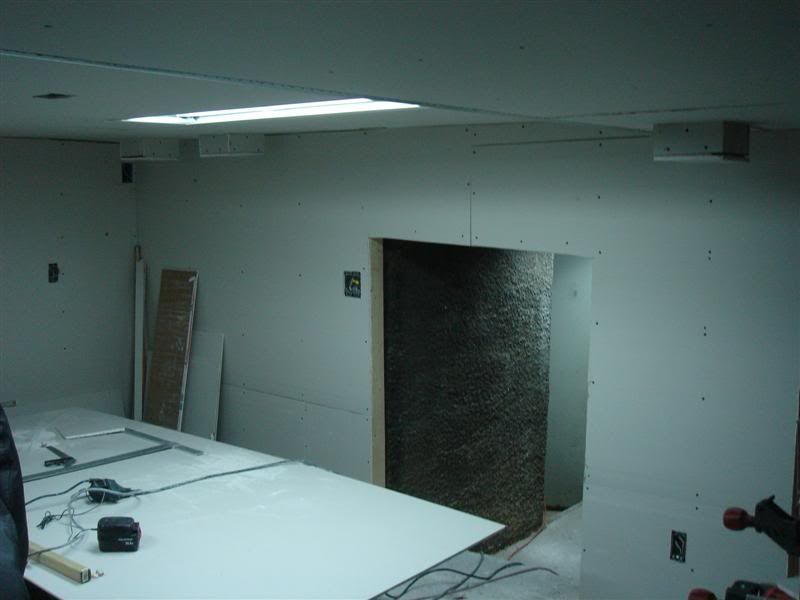  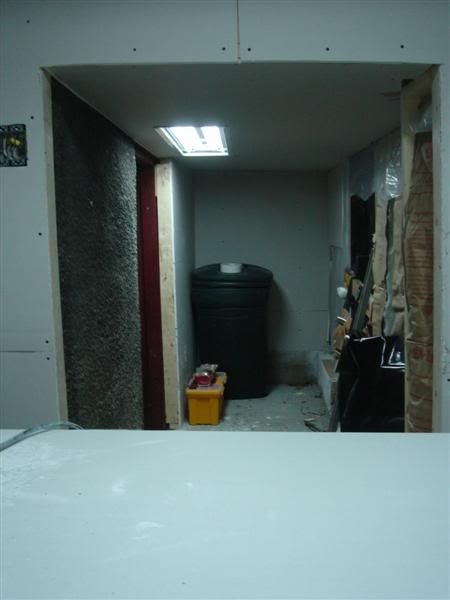 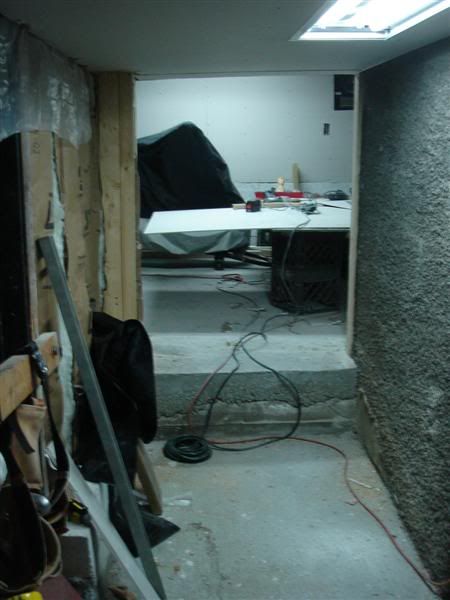
__________________
LRRS/CCS #123 Boston Moto Dunlop Woodcraft 35 Motorsports Sidi Pit Bull K&N Filters |
|
|
|
|
03-05-2008, 12:40 AM
|
#8 |
|
Pompous Prick
Join Date: Mar 2008
Location: MA
Moto: 06 R6 (race), 04 CRF Tard (race)
Posts: 3,040
|
So, after some pretty hectic times at work, I was finally able to get some more work done on the garage in the weekend right after my birthday.
The main thing hanging over my head at this point is building the garage doors, as well as the door in the small room needing to be ripped out and a new one built. Like I said before, some companies will charge anywhere between 5 and 20 grand for a set of 'carriage house' doors.... which is ludicrous. I'll just build them myself. So, all of the drywall being done save for three small strips around the small door and large doors, I decided to tackle the big project. It took almost an entire day just to measure, come up with a plan, verify structural integrity, buy the materials, and be ready to get started. Swinging doors are much more difficult than traditional garage doors due to their tendency to sag over time if not built properly. The key here is to keep weight down while still making them nice and strong, make them able to be very well insulated, resistant to weather, decent looking, etc. Here is the general shape I came up with. This is the left door, the right would be a mirror image of this. 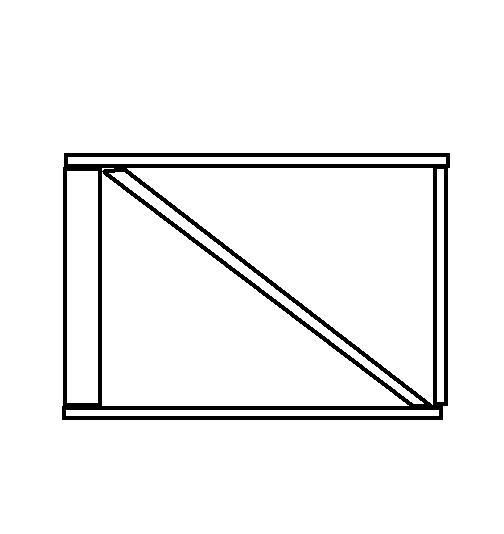 The main beam for the hinging is a 4x4, the rest of the boards are 2x4's. I'll use 5/16" lag bolts for all of the fasteners (four on the top and bottom of the 4x4, 2 on all the 2x4 joints. Also, the cross beam going from near top to far bottom should alleviate some load from the door wanting to sag. When I find a decent set of hinges, I will use lag bolts to attach each side of the hinge into the 4x4's (the static post the doors hang on is also a 4x4). The outside of the doors will be clad with Texture 1-11 with the more narrow grooves... looks decent, treated for weather, paints well, lightweight. The doors inside will be filled with some foam insulation. The inside of the doors will be clad with some very thin wood sheeting and painted. The bottom of the doors will have rubber 'wiper'-type weatherstrips, the center seal will be similar. The top and sides will have rubber stripping tacked into the door fram so that as the doors are closed they will seal up. The center will use on of those vertical rod locks that will go down into a hole drilled in the concrete. It took all of another day to frame the doors in and get everything all squared and solid. It was worth it. You could hang a flucking car on these support posts. They are pressure treated 4x4's that are secured to the structure of the building with 1/2" lag bolts that are 10" long. They are perfectly square and level. Also, the last piece of wall had not yet been built because I hadn't decided how the door framing was going to do, so I built that... powder-actuated nail cannon to put the base PT 2x4 into the ground, framed the rest, insulated it, mounted the lightswitch. Here is a view from outside, followed by a few closeups: (note, this first pic was taken with my new phone, then I emailed it via text message to myself... pretty decent) 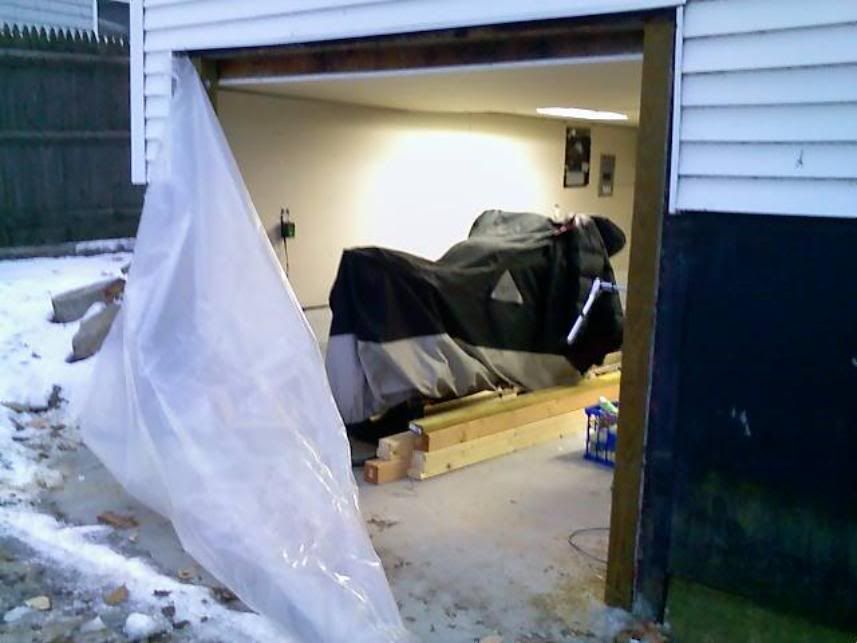 Left side (if looking in from outside)  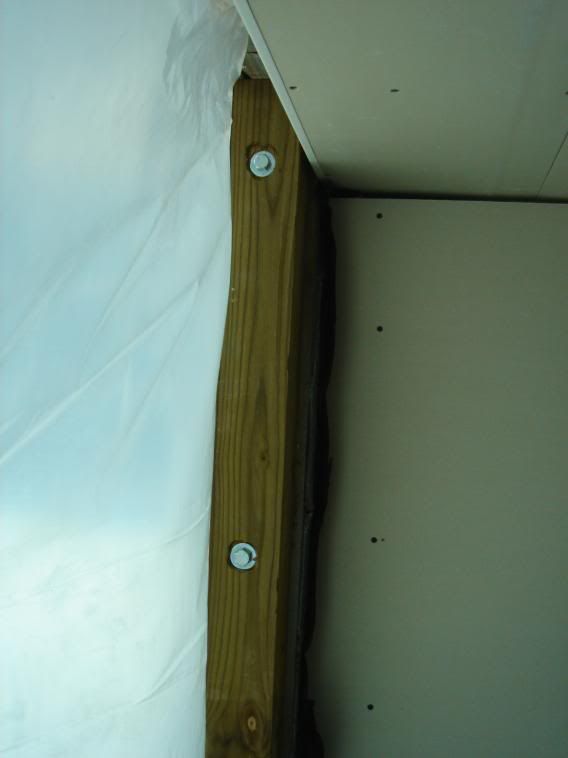 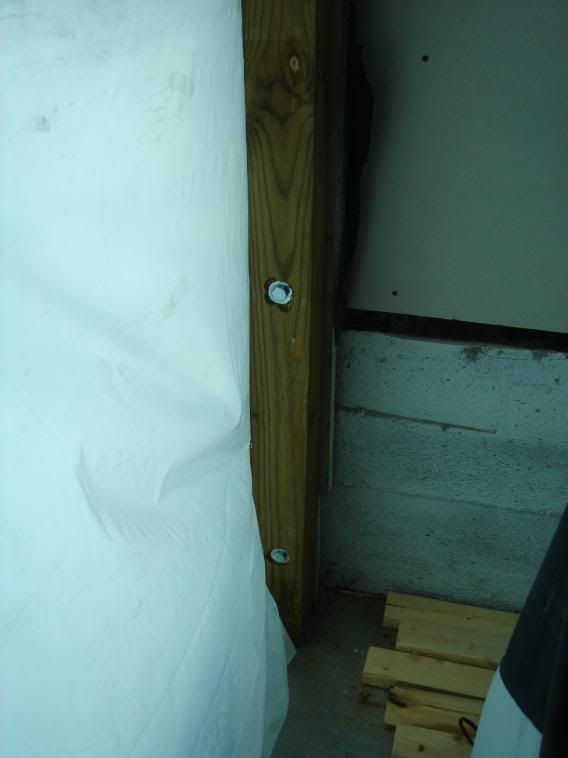 Right side (if looking from outside): 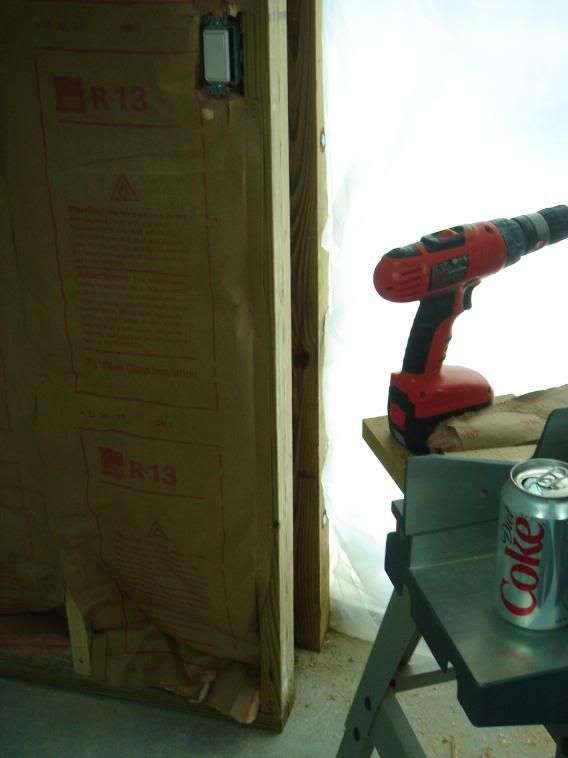 Last bit of wall framed: 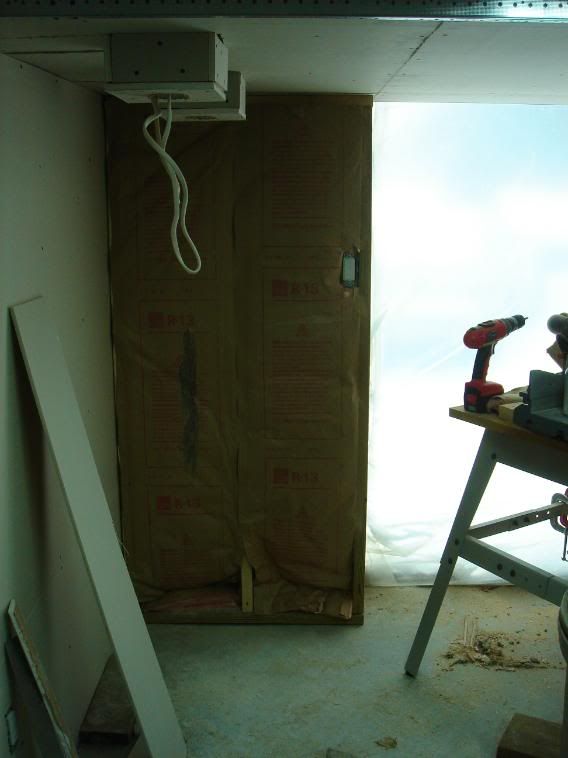 One thing you can't see in any of the pictures but that I did do, and was fairly time consuming, was that I installed all of the outlets into the outlet boxes. There are 10 of them... but now I turned all the breakers on so I don't have to run extension cords anymore. Wired up the switch for the spotlights too. Lastly, I wired up the little spotlights for over the workbench and over the tool chests. These things were a little bitch... cramming all the wires and wire nuts into the junction boxes and then getting them up and into the holes I cut in the drywall and up into the little boxes I framed in. Big pain. It's not readily apparent in these photos, but these little lights are going to provide some great worklight in those two areas. Workbench lights: 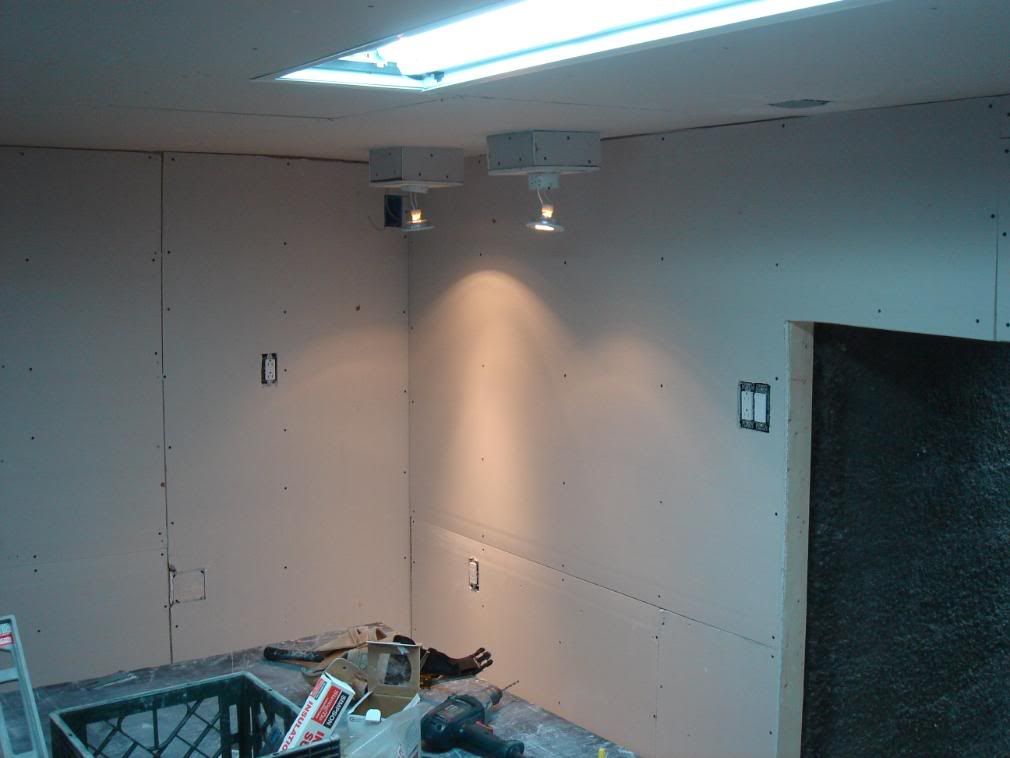 Toolbox lights: 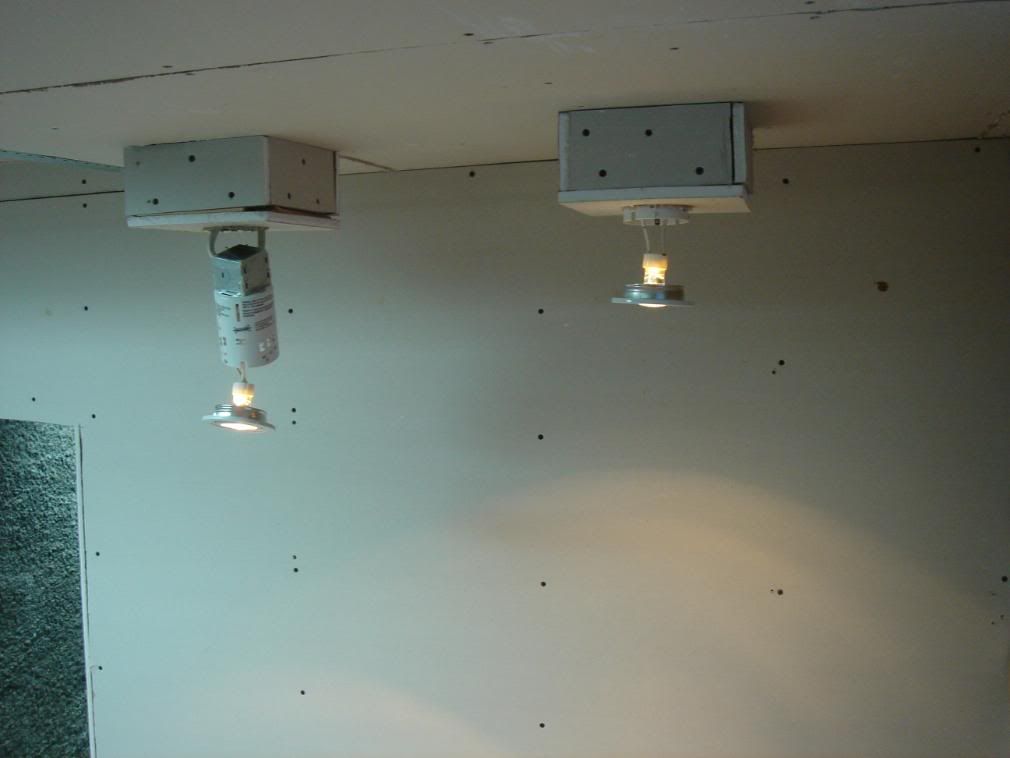 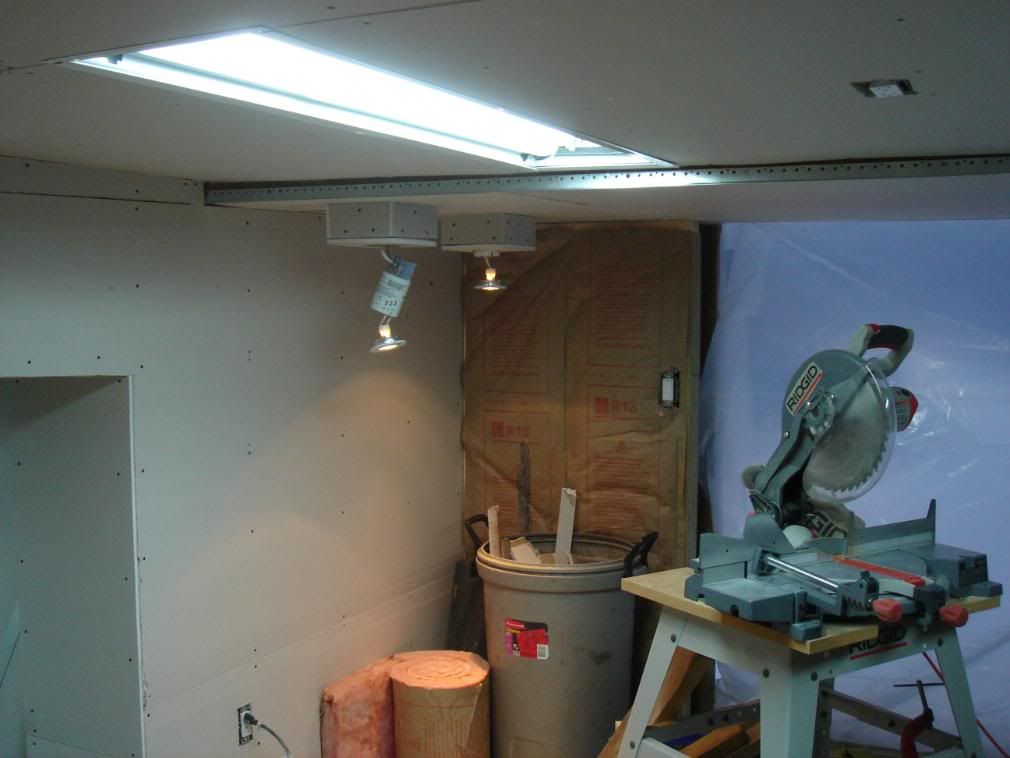 Turned the main lights off, workbench lights: 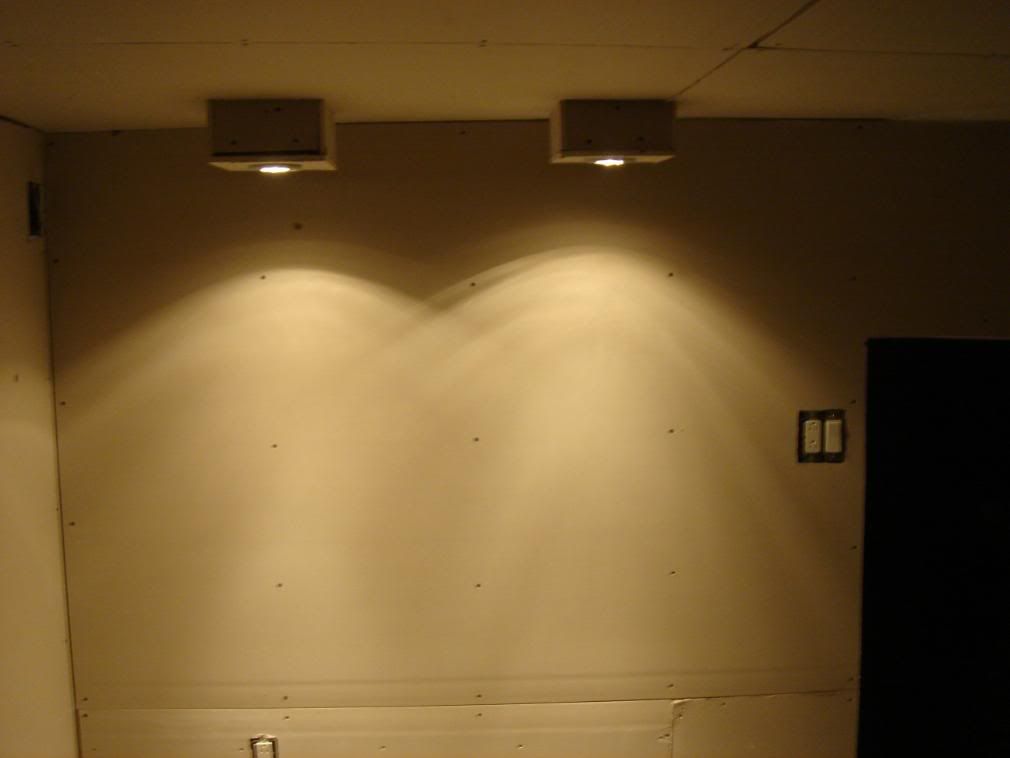 Now work sucks again, which is why I haven't been on here recently, but hopefully I'll be able to get out there and get some more work done soon.
__________________
LRRS/CCS #123 Boston Moto Dunlop Woodcraft 35 Motorsports Sidi Pit Bull K&N Filters |
|
|
|
|
03-05-2008, 12:40 AM
|
#9 |
|
Pompous Prick
Join Date: Mar 2008
Location: MA
Moto: 06 R6 (race), 04 CRF Tard (race)
Posts: 3,040
|
Finally, after a really chitty week at work, spending until 11pm there thursday, friday, and saturday... I was able to take the day off on sunday and get some work done on the garage.
I built the structure/frame for both of the swinging doors. They are REALLY sturdy. So far, I'm definitely happy with my decision to build these myself. The 4x4's on each door will be closest to the hinges, the 2x4's in the center. The 2x4's on the top and bottom are connected to the vertical boards via 5/16"x3" lag bolts with washers, countersunk. There are 4 going into the top and bottom of the 4x4, 2 going into the top and bottom of the 2x4, and then 2 going into the top and bottom of the 2x4 cross-support board. Built the first one: 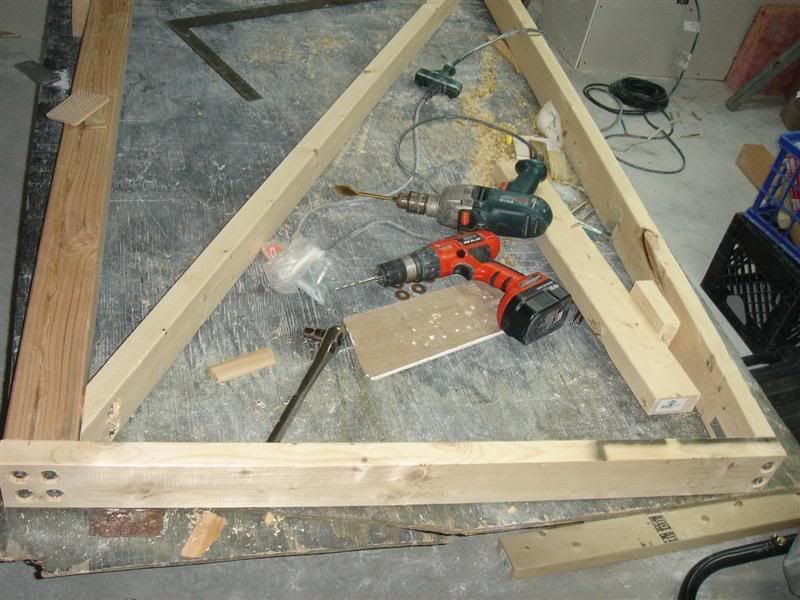 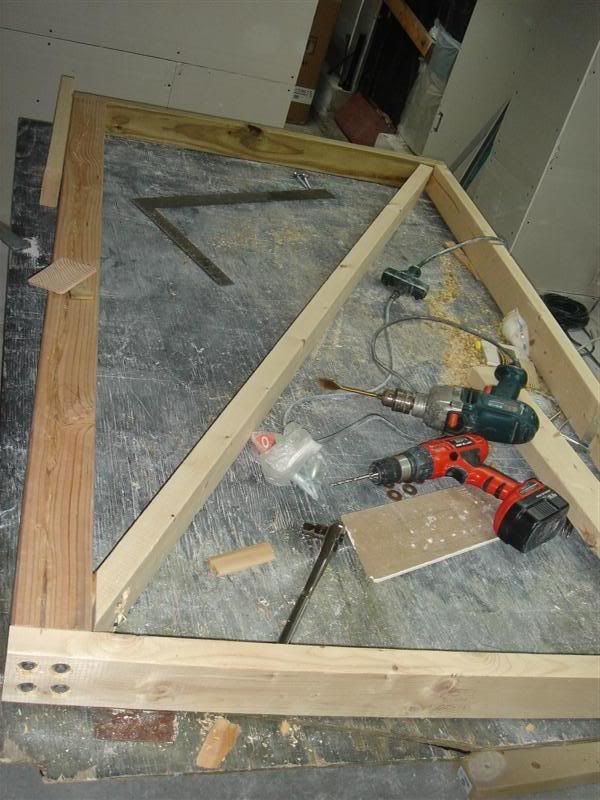 Built the other one: 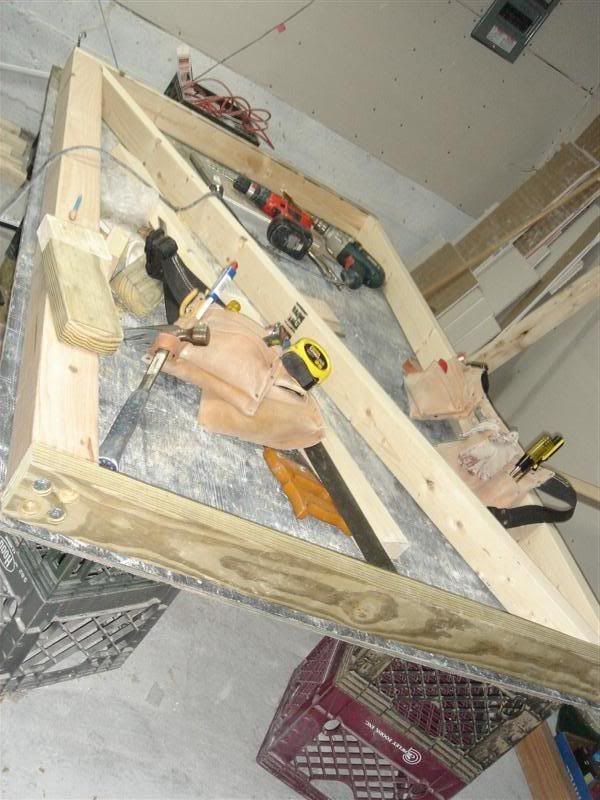 Looking pretty good: 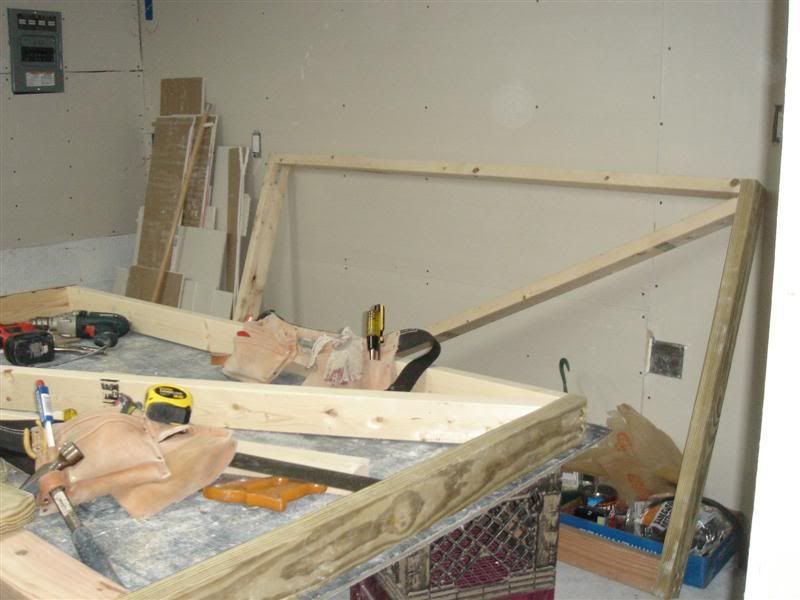 I have a plan for the cladding front and back, adhesive, insulation, hinges, weather stripping, ground wipers and center flap, as well as the locking/closing mechanism, and an idea for center casters for support to prevent sag. I think this will all take one more full day of work. Then, I will just need to paint them and hang them up! Really coming together now 
__________________
LRRS/CCS #123 Boston Moto Dunlop Woodcraft 35 Motorsports Sidi Pit Bull K&N Filters |
|
|
|
|
03-05-2008, 12:40 AM
|
#10 |
|
Pompous Prick
Join Date: Mar 2008
Location: MA
Moto: 06 R6 (race), 04 CRF Tard (race)
Posts: 3,040
|
Did some more work on the doors this past weekend, unfortunately only one day's worth, and was able to completely finish their construction. They are pretty heavy, but as long as I use proper hinges, the added strength, durability, insulating quality, and weather resistance should be worth it.
A lot of the machine supply places I've been looking at for hinges are ridiculously overpriced. Luckily, I have a buddy who does tons of custom metalwork and makes his own ornate railings and gates, and he has even fashioned a pair of hinges for 40 foot tall solid wood doors. I am gonna take a trip to his shop and we'll make some nice hinges for not too much money. So the doors are built around the frames I described in my last post. For the front cladding, I used texture 1-11 with roughly 4" wide grooves. It's attached via lots of construction adhesive (liquid nails, good stuff) and some 1.25" exterior screws. The construction adhesive I used all around will actually add a ton of strength to the doors, as well as sealing them from water and weather. Then, I used some 2" thick foam insulation (R12 insulating factor... nice, and a little pricey) to fill the door. I used construction adhesive to attach it to the back of the front T-1-11, so behind it will be a roughly 1.5" air gap, which will help even more for insulating. Then, the inside cladding is just 1/4" finished luon, attached via construction adhesive and 1.25" finish nails. Here is the doors as built this weekend. Mid-Build: 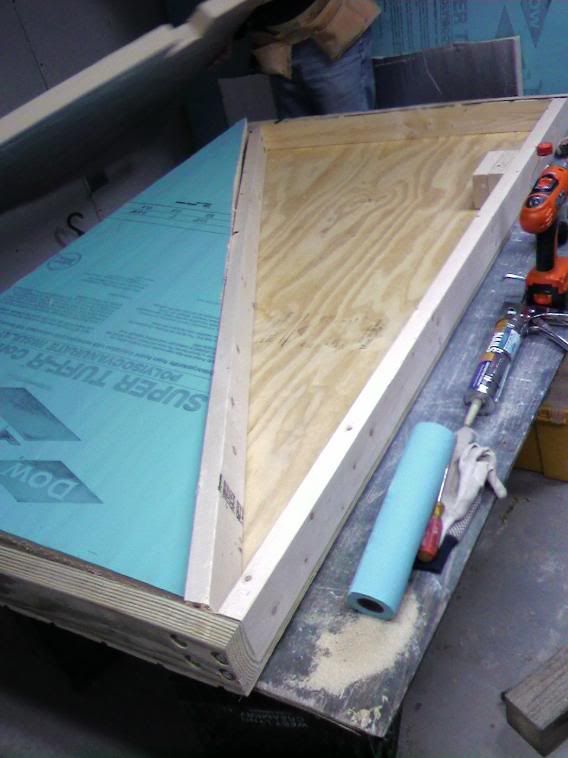 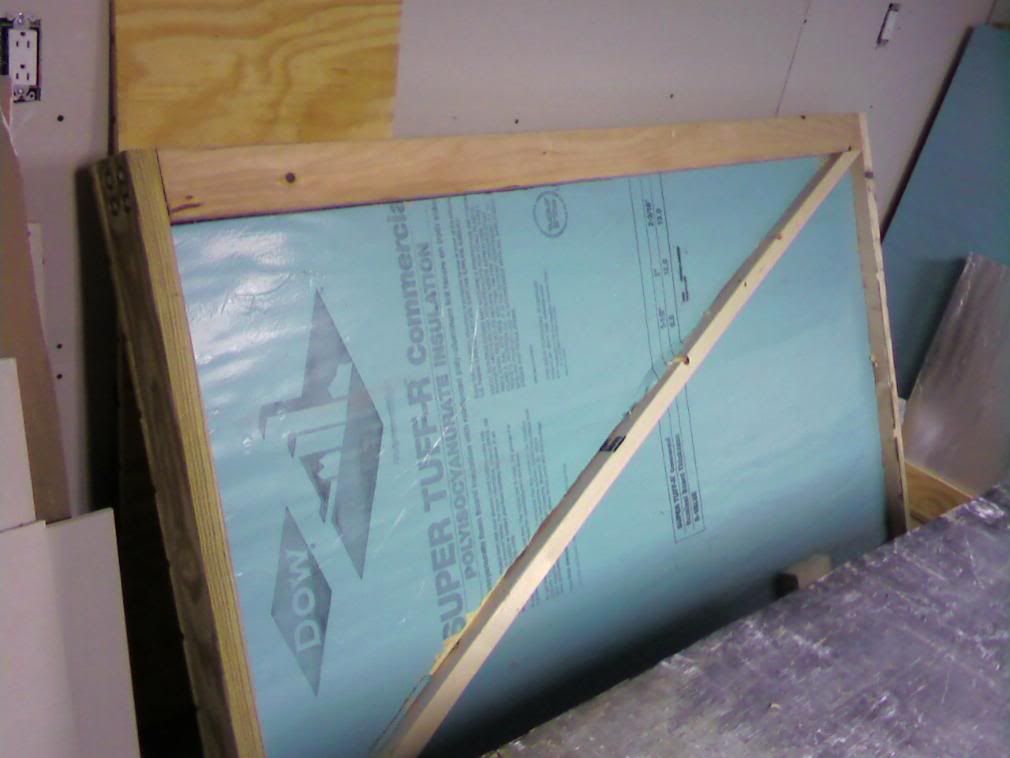 All done: 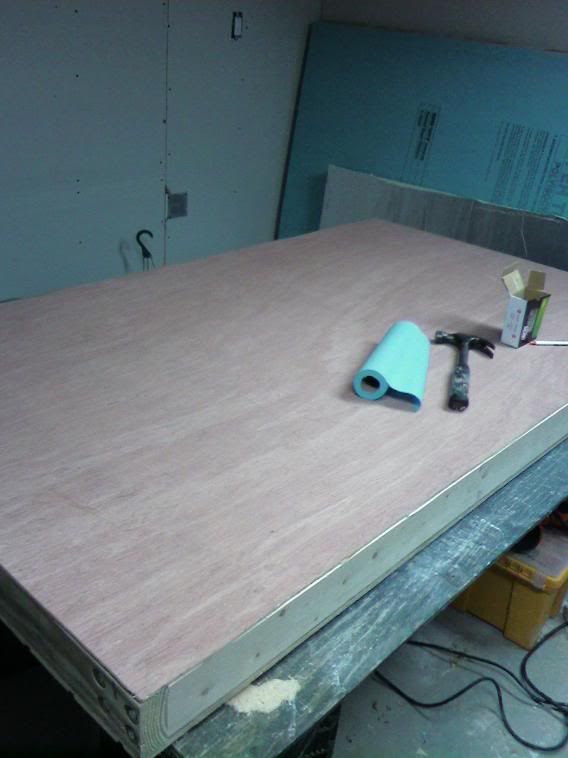 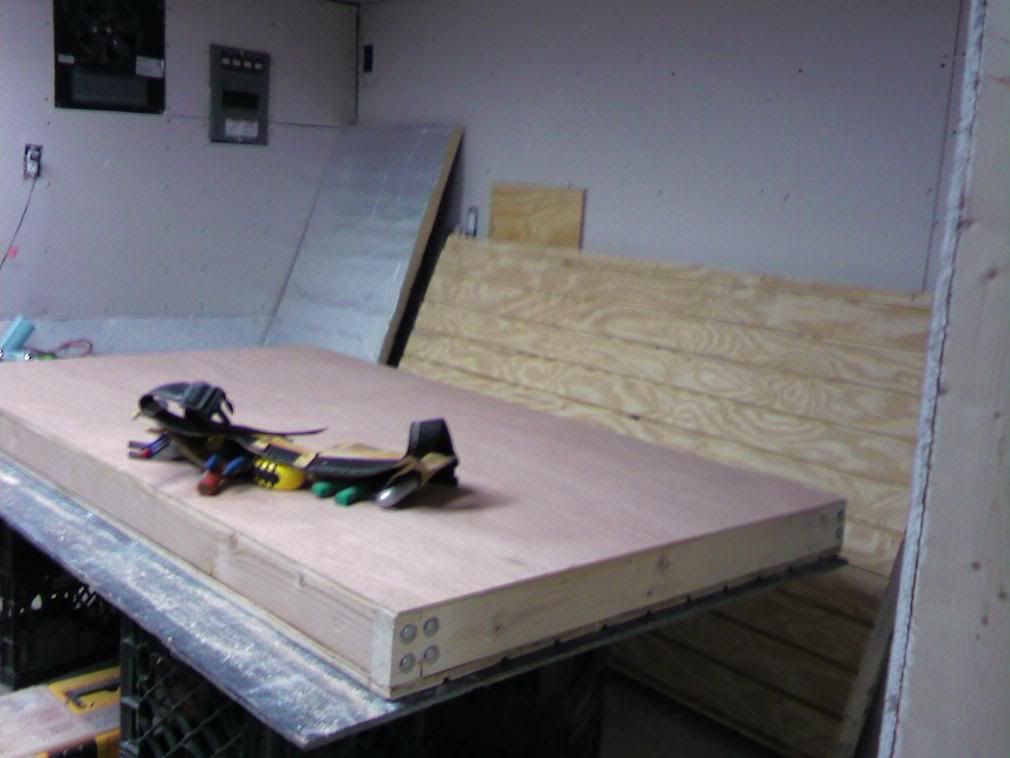 You can see the T-1-11 Pretty well on the underside of this door from the side. I guess I forgot to take photos of the outsides of the doors. 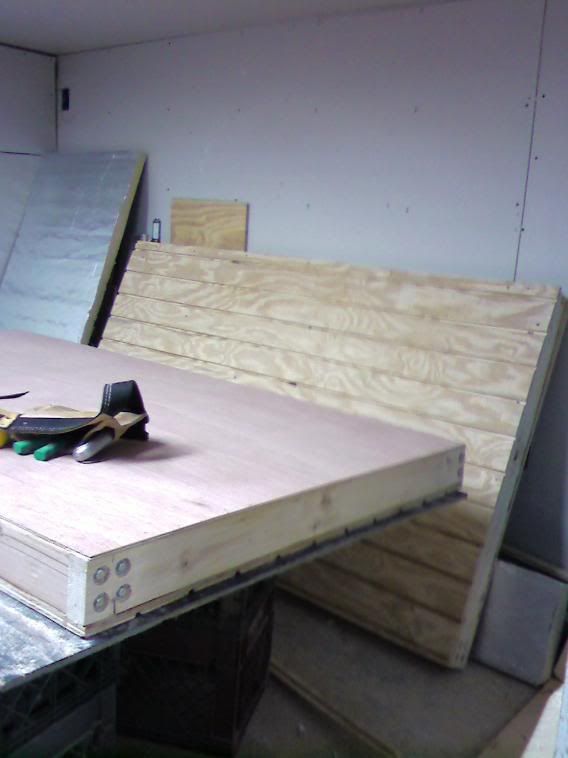 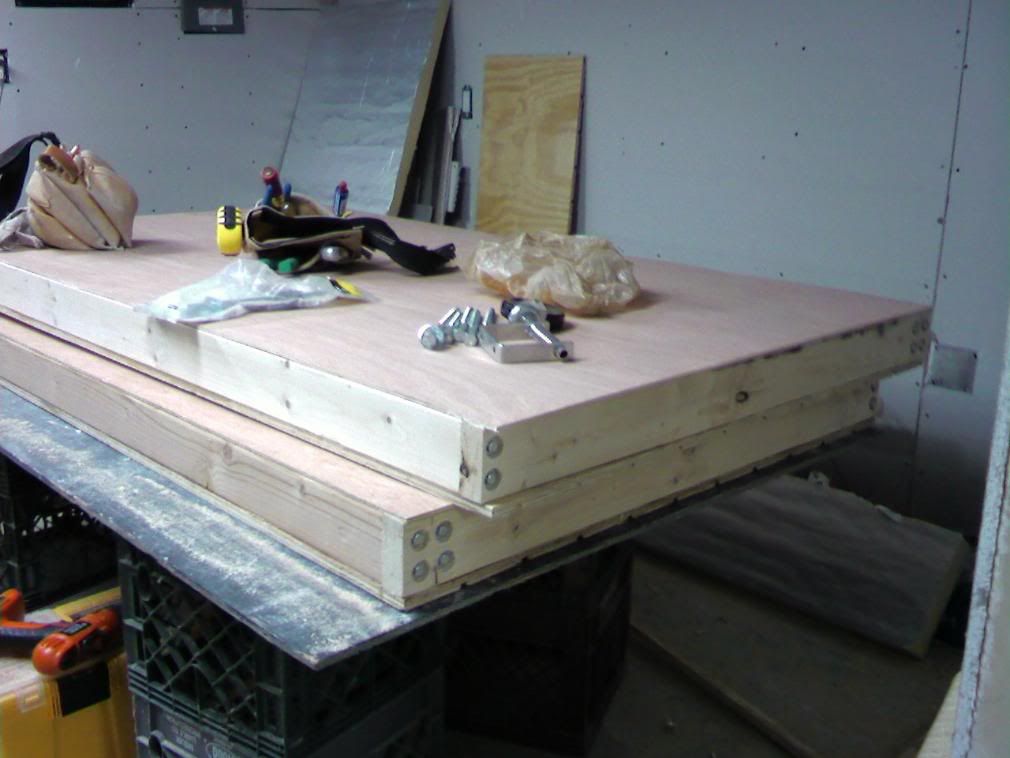 I have all the rest of planned out exactly, except for the hinges. One door will lock to the other upon closing via a gate latch, like this:  Then, the doors will lock in place via a cane bolt / plunge latch down into the concrete. I have the bit, and a hammer drill. Easy. It is sort of like this:  There will be wipers along the bottom of each door to seal against the ground, and a wider one mounted in the center to cover the gap between the doors. Rubber weatherstripping will be tacked all around the door frame on the building in such a way that as the door is pulled shut the last couple inches, all the weatherstripping will be lightly compressed, and seal the garage. I plan to find rigid casters with a slight offset from their mounting plate that will be attached such that as the door is pulled shut the last couple inches, a lot of the load will be taken off the hinges and supported by the casters. Now, just have to paint them (using black exterior paint on the front and sides... the inside will be white interior paint) and hang them. I'm going out there tomorrow to paint the doors at the very least.
__________________
LRRS/CCS #123 Boston Moto Dunlop Woodcraft 35 Motorsports Sidi Pit Bull K&N Filters |
|
|
|
 |
| Bookmarks |
|
|


 Linear Mode

